 This sign was in the front yard during the entire effort. |
 The next four pictures were taken as a new water line to the pool was installed. |
 |
 |
 |
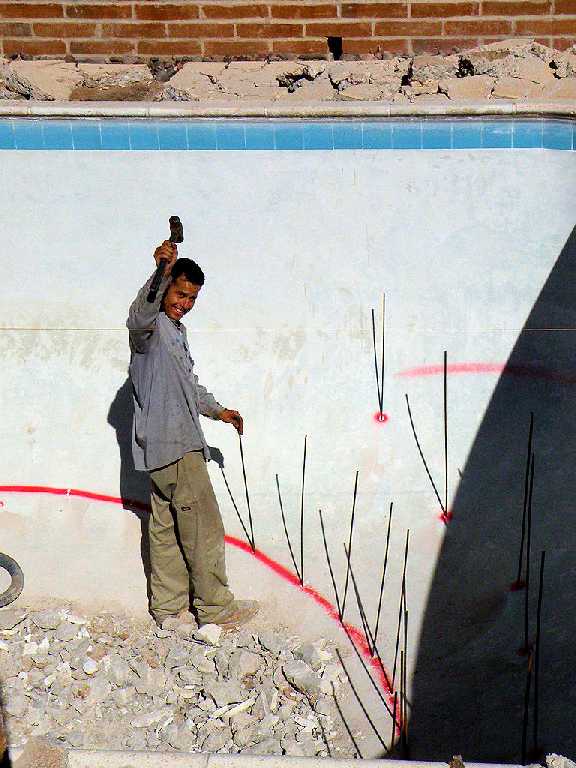
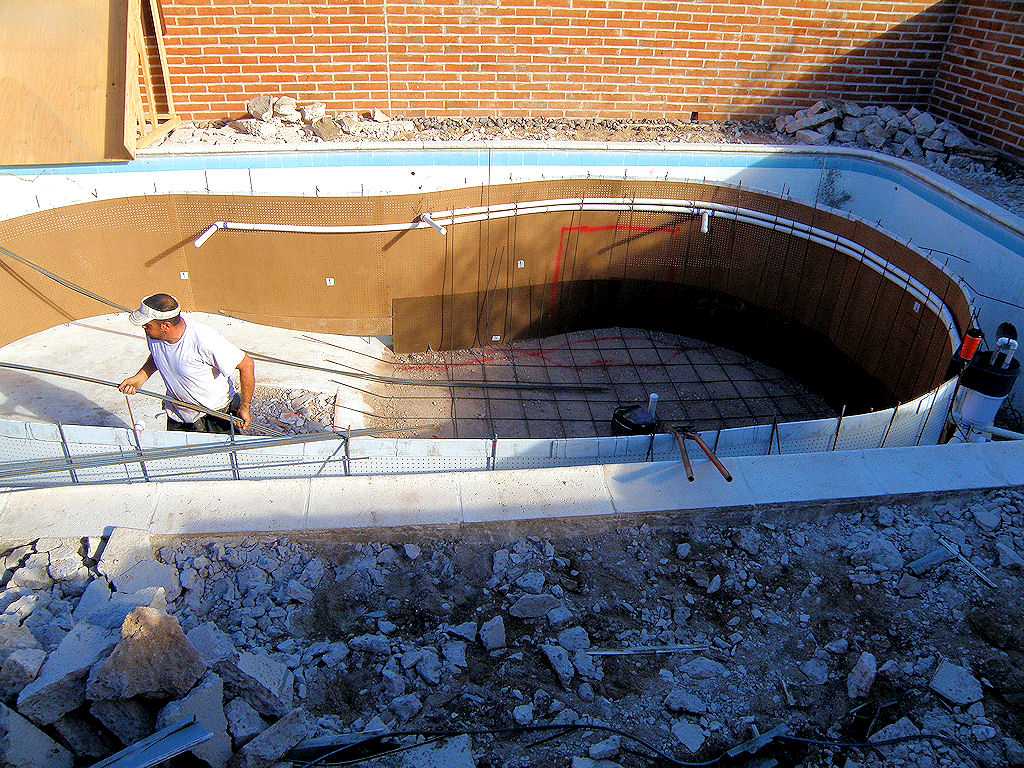
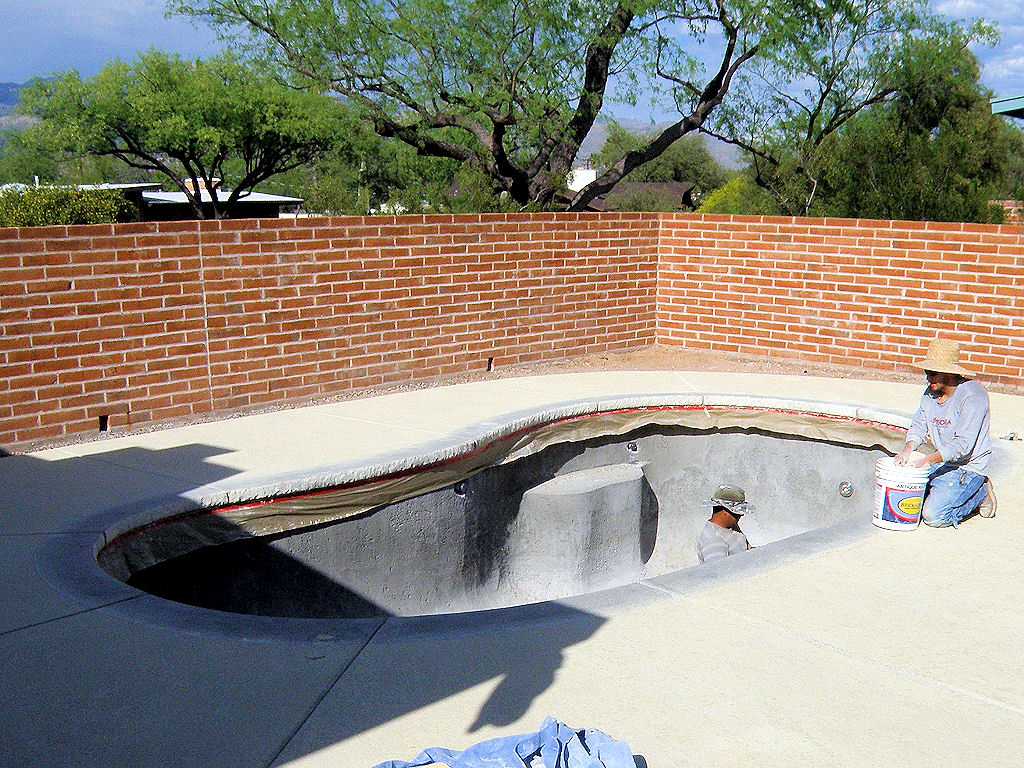
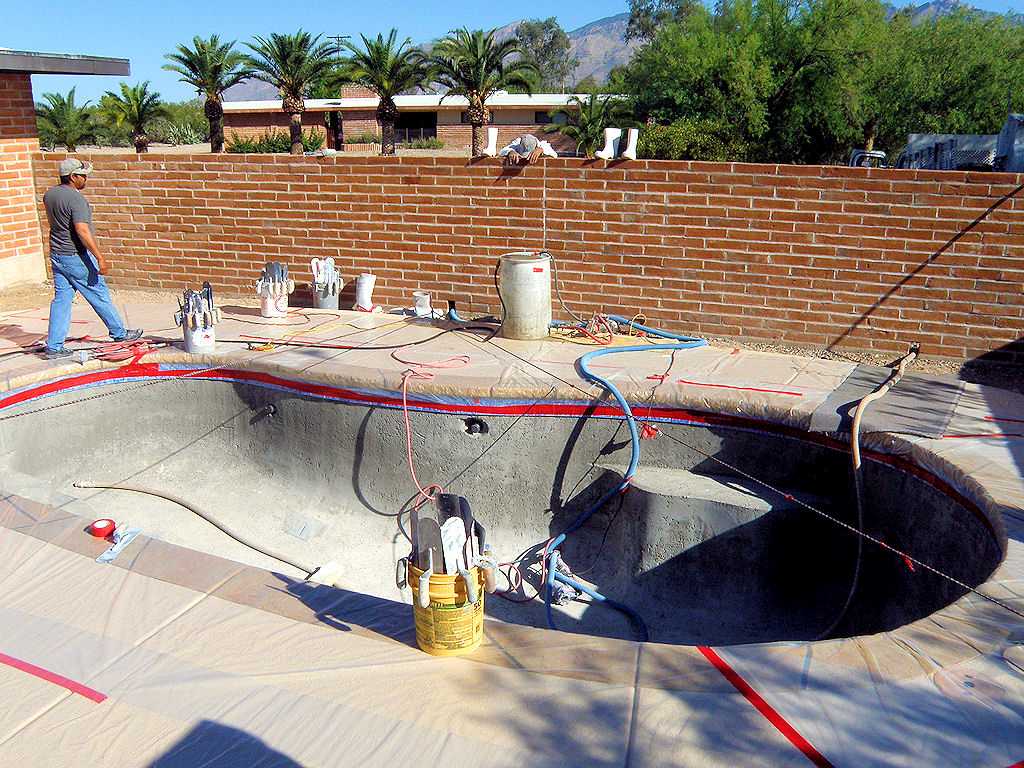
 That's Jeff Brookshier waving his hand around as he instructs the concrete jack hammer operators what needs to be done. |
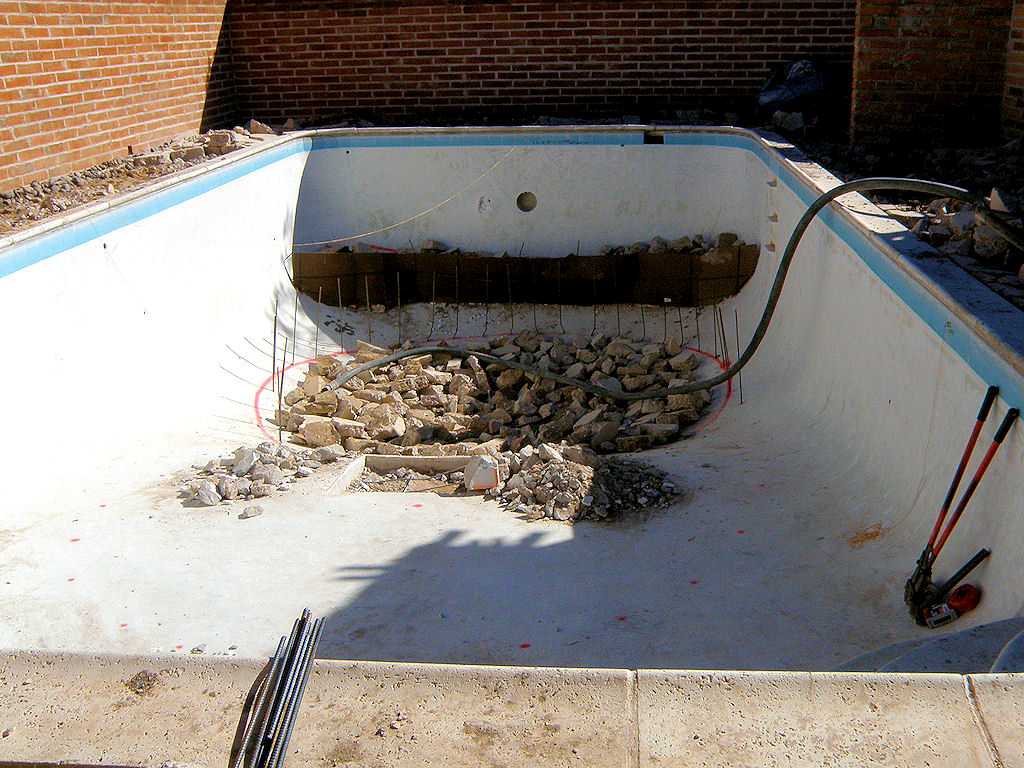
 Weep holes are marked in. These holes are used to keep the old pool from collecting water under the new pool. |
 Concrete demolition begins. |
 |
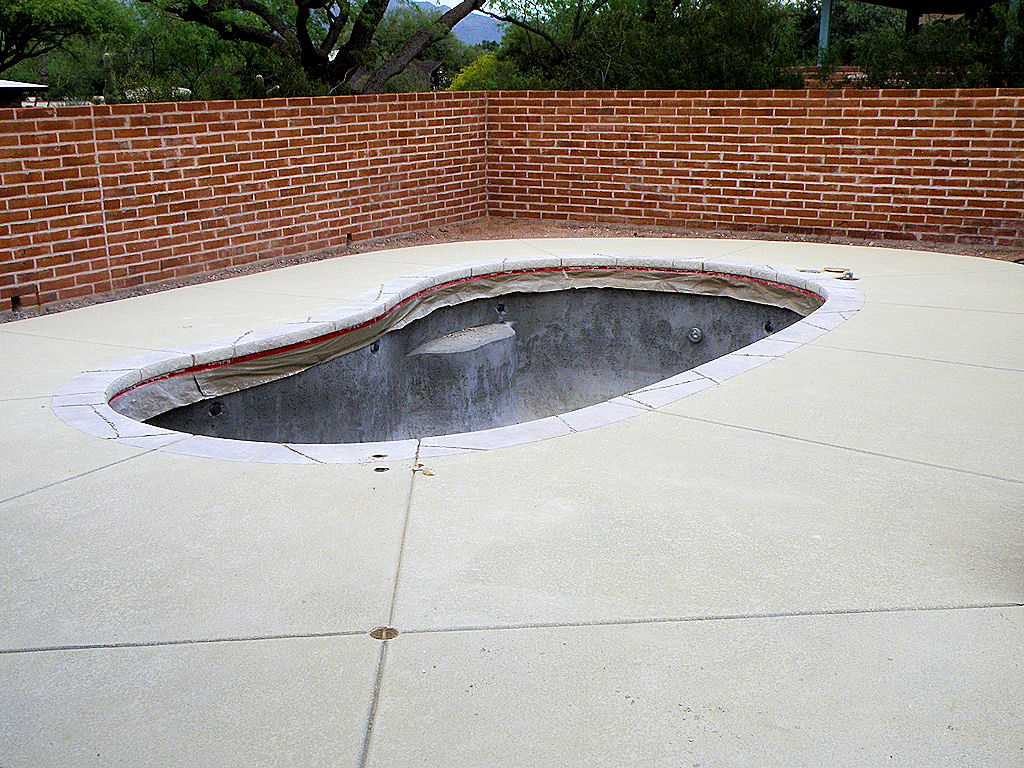
 This is a sample of what's left of the decking. Note that all of the broken concrete, as well as all other non-biodegradable solid waste was used as fill during the construction of the new pool. |
 That's Jeff's assistant Abe working on the outline for the new pool. |
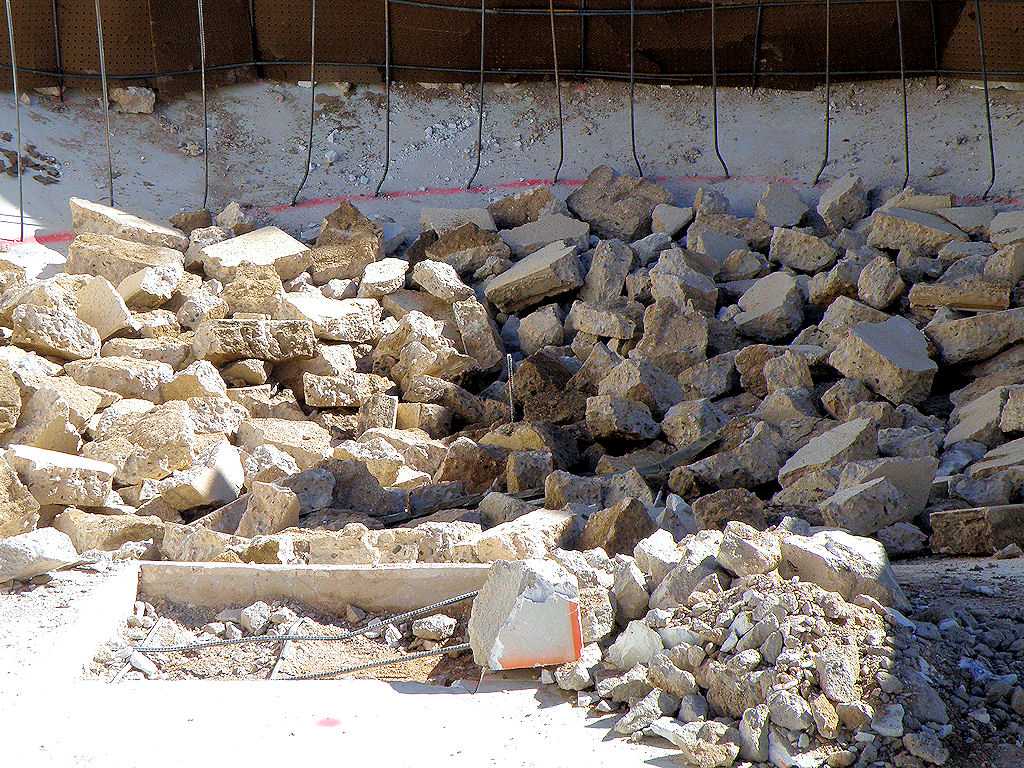 That's not nearly all of the waste, which as I've mentioned will ultimately end up as fill for the new pool. |
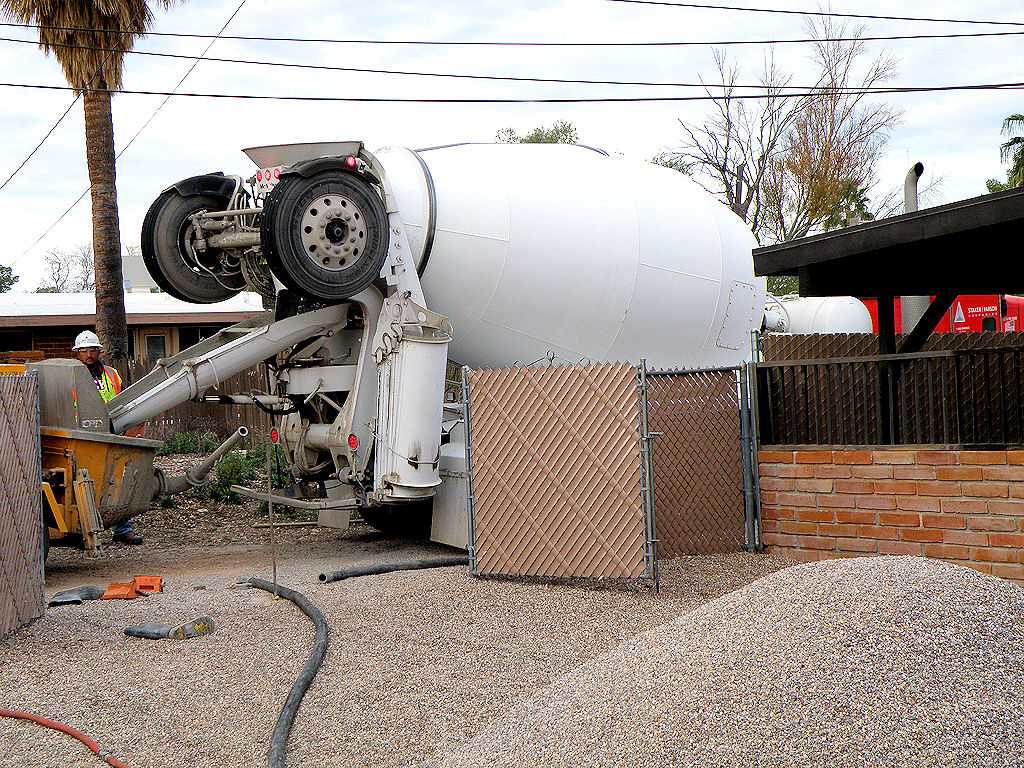
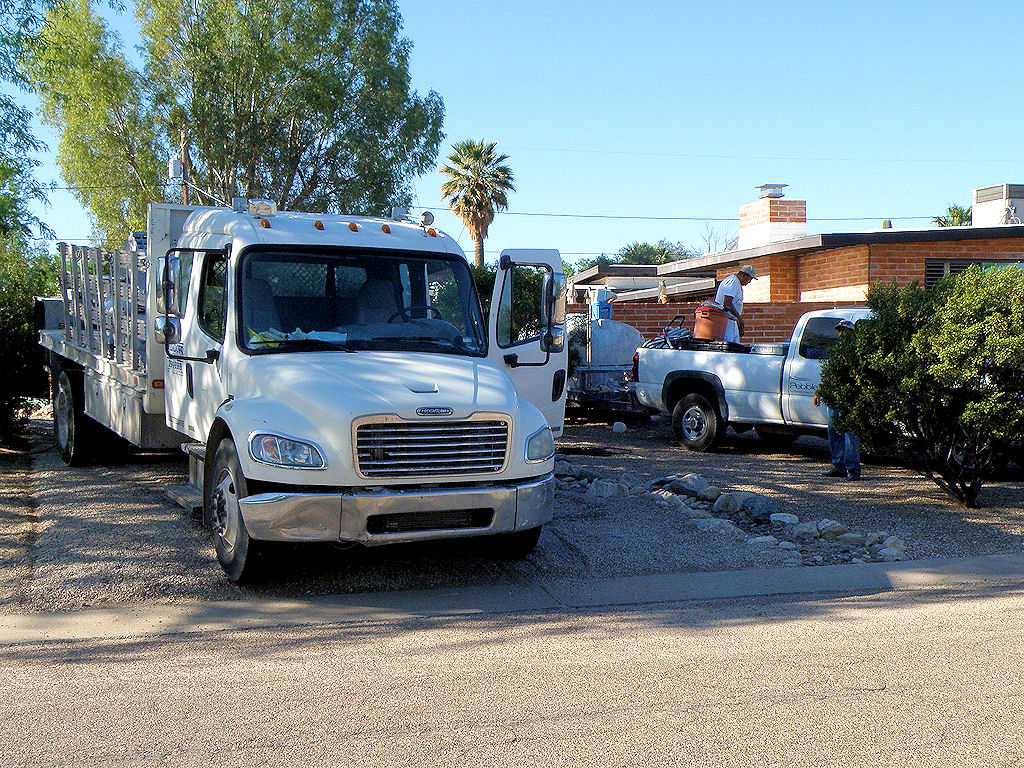
 These trucks are in the alley to the south of the house. This is the first of four times that concrete will be pumped into the pool area. |
 It is a long, long way from the south alley to the pool! |
 |
 |
 The first load of concrete being pumped. |
 |
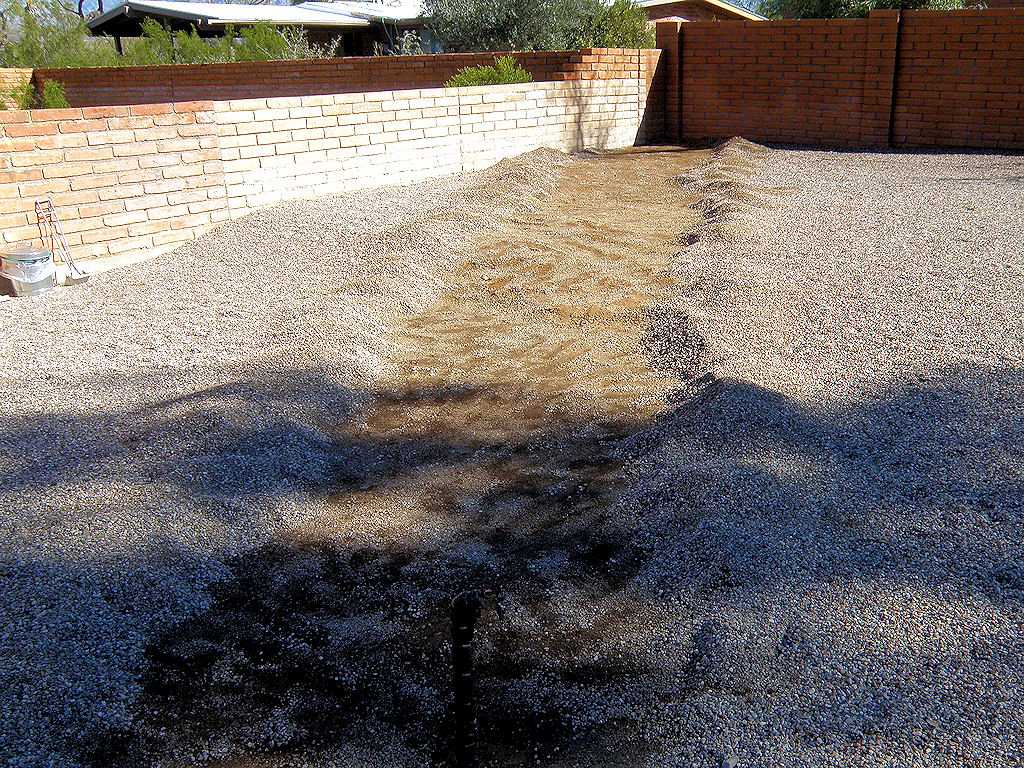
 Clearing an access from the north side of the property to the wall around the pool. |
 This ramp was used to load fill over the north wall. |
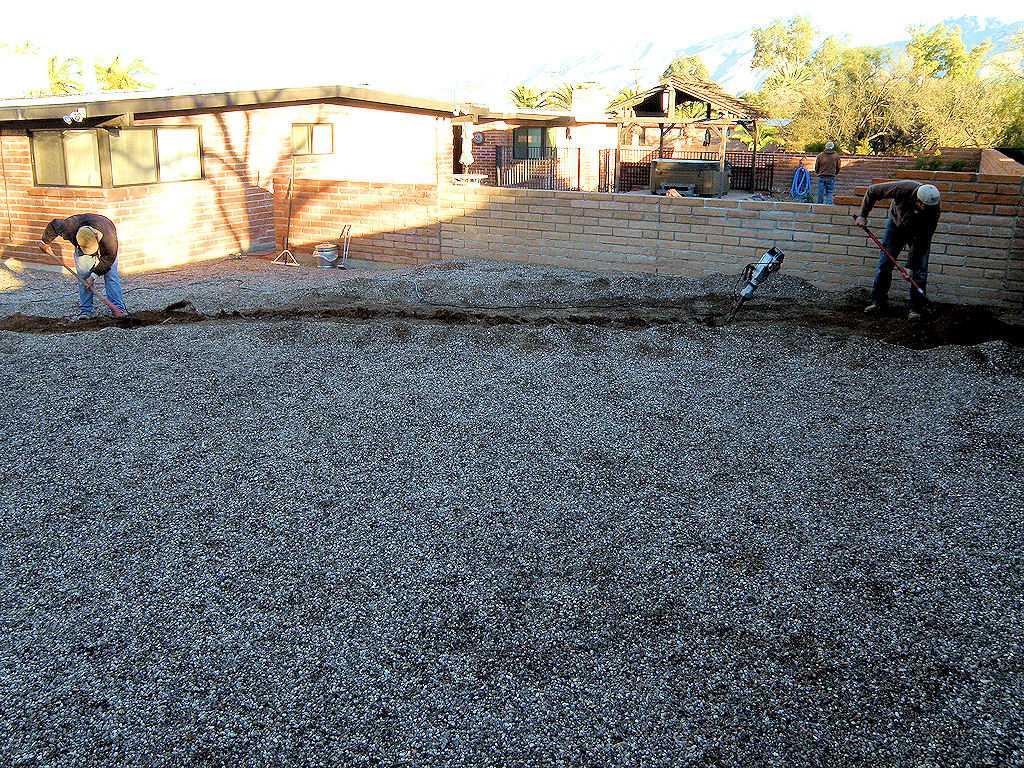
 Loading dirt into the pool area. |
 Make that LOTS of dirt. |
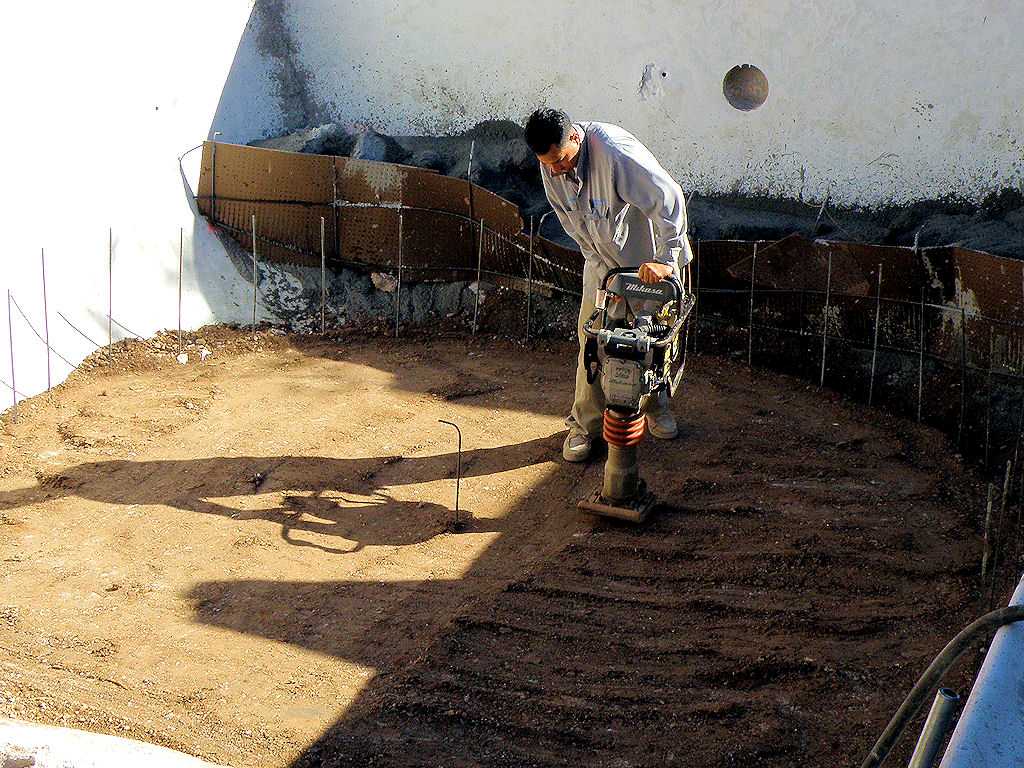 Compacting the dirt. |
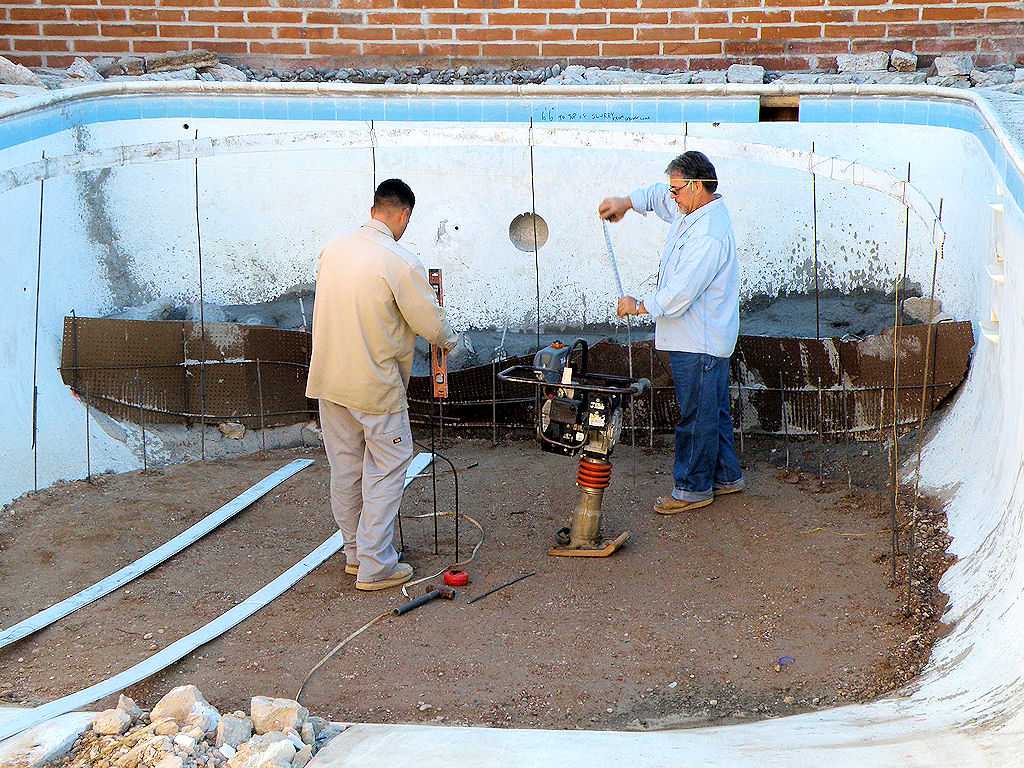 Starting on the frame for the new pool. |
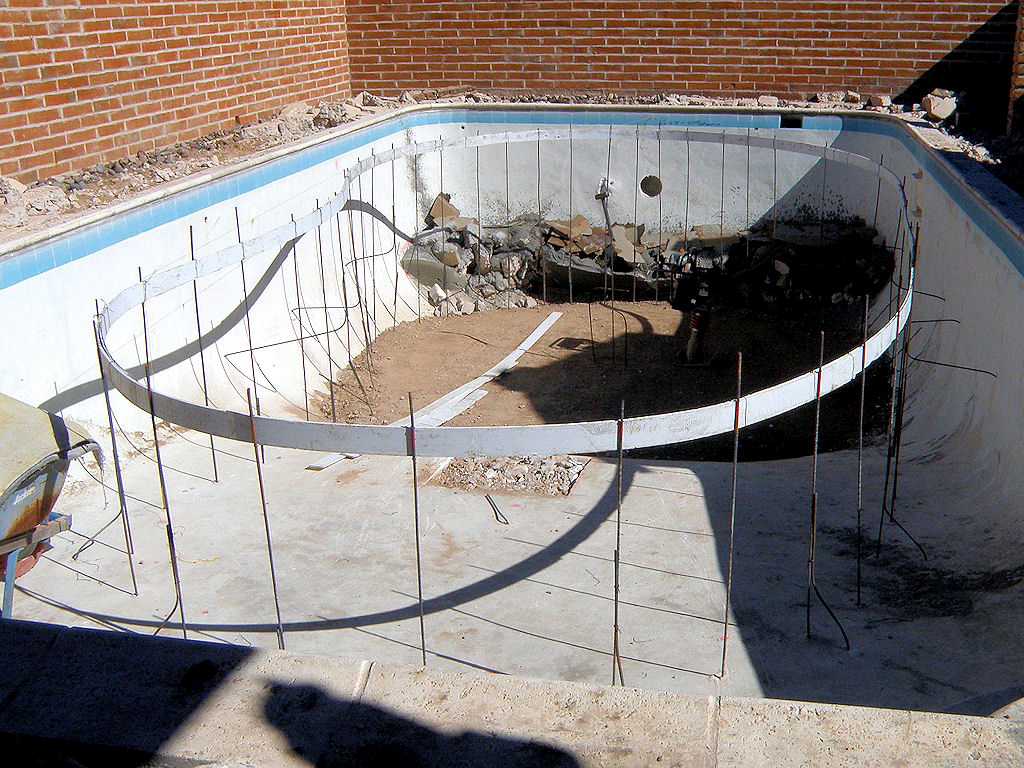 The final outline. |
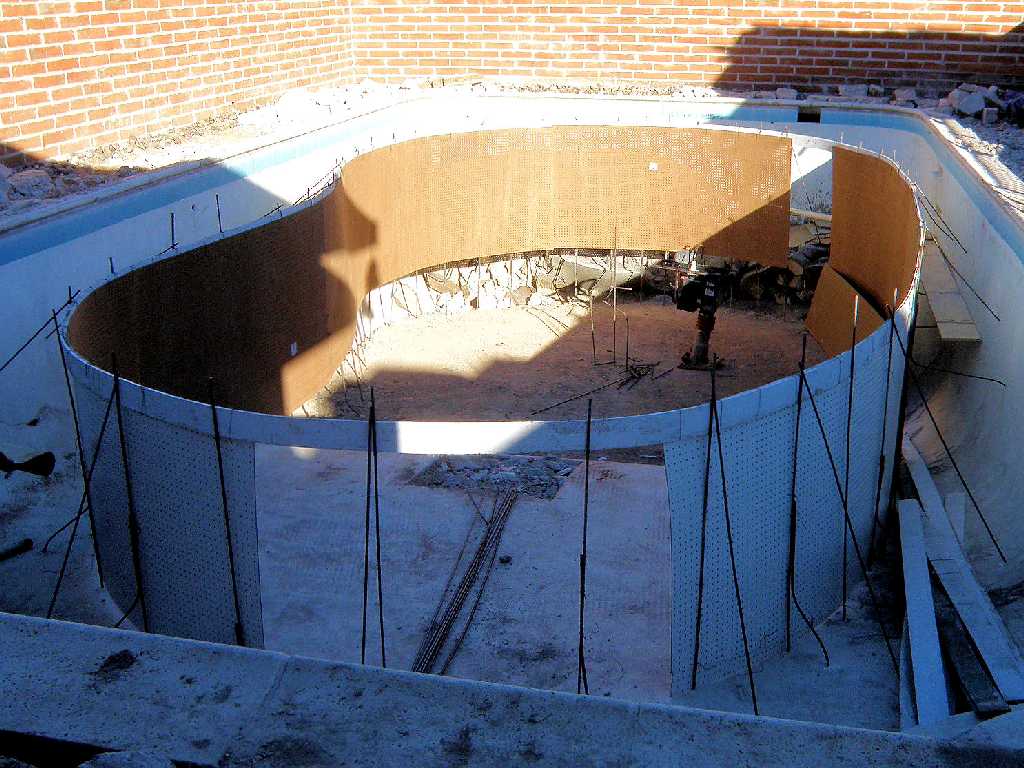 Framing is done. |
 Adding PVC for water lines. |
 Installing rebar. One fellow in one day . . . |
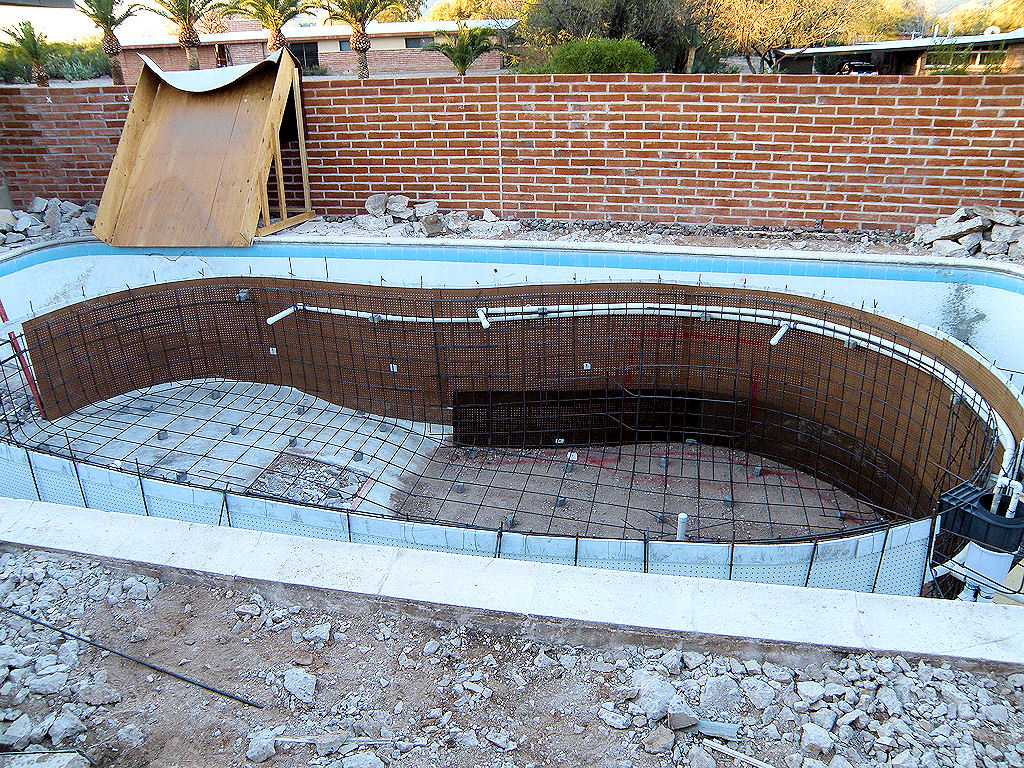 . . . did all this! |
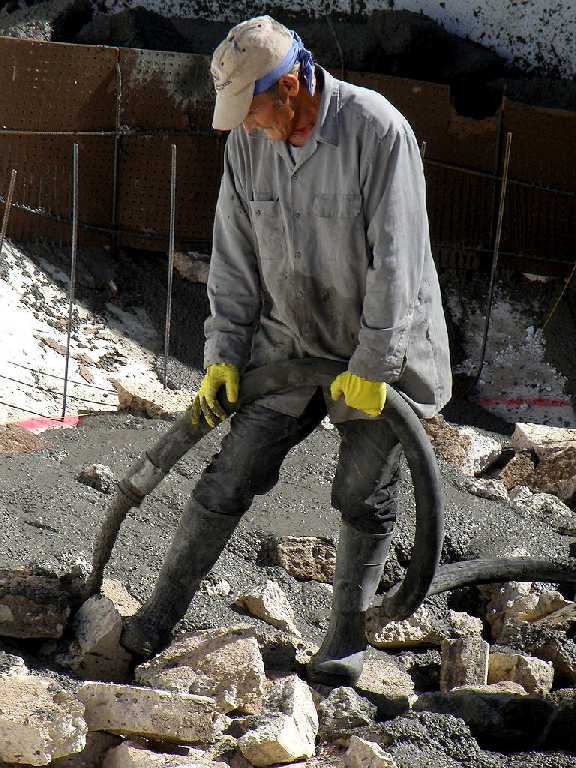
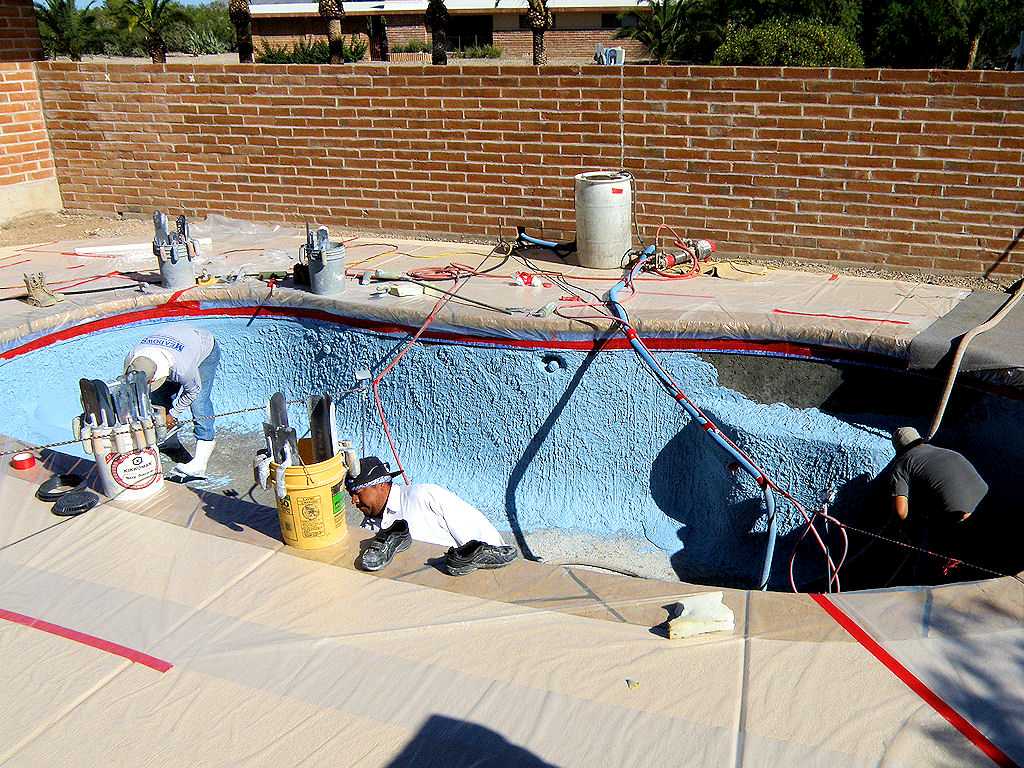
 The second load of concrete. This load is gunite, which is normally used for the surface of in-ground pools. |
 Another long trip for the gunite to flow from the south alley to the pool area. |
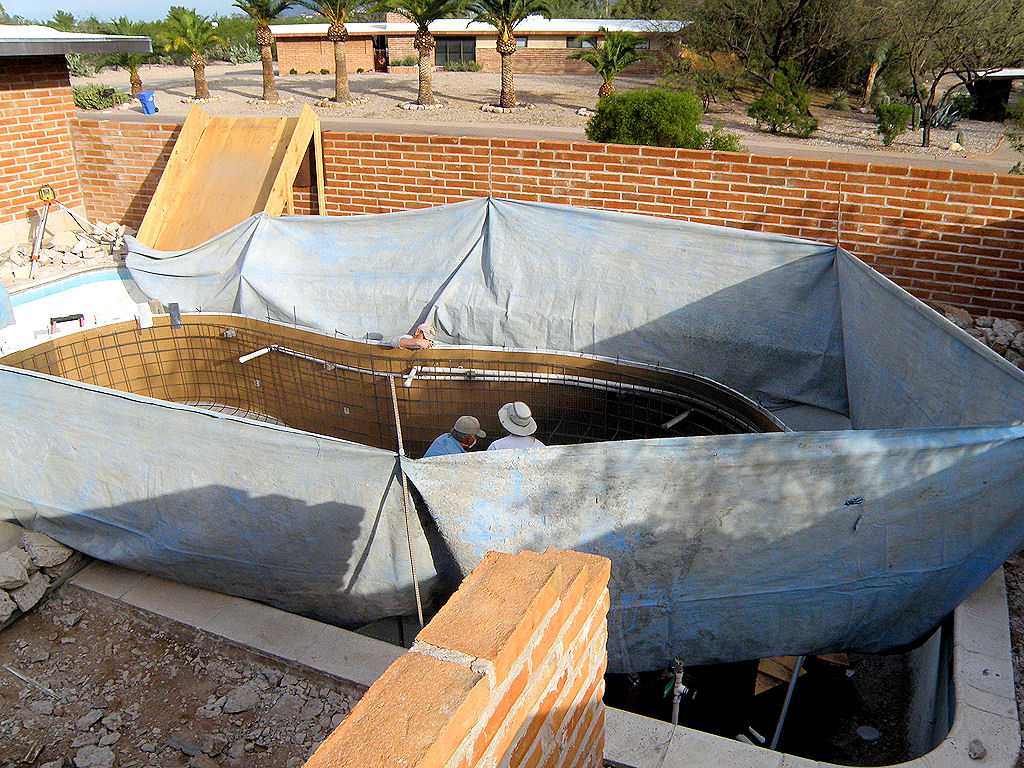 Gunite is actually blown in. So to prevent any gunite from ending up on our walls, a barrier was set up. |
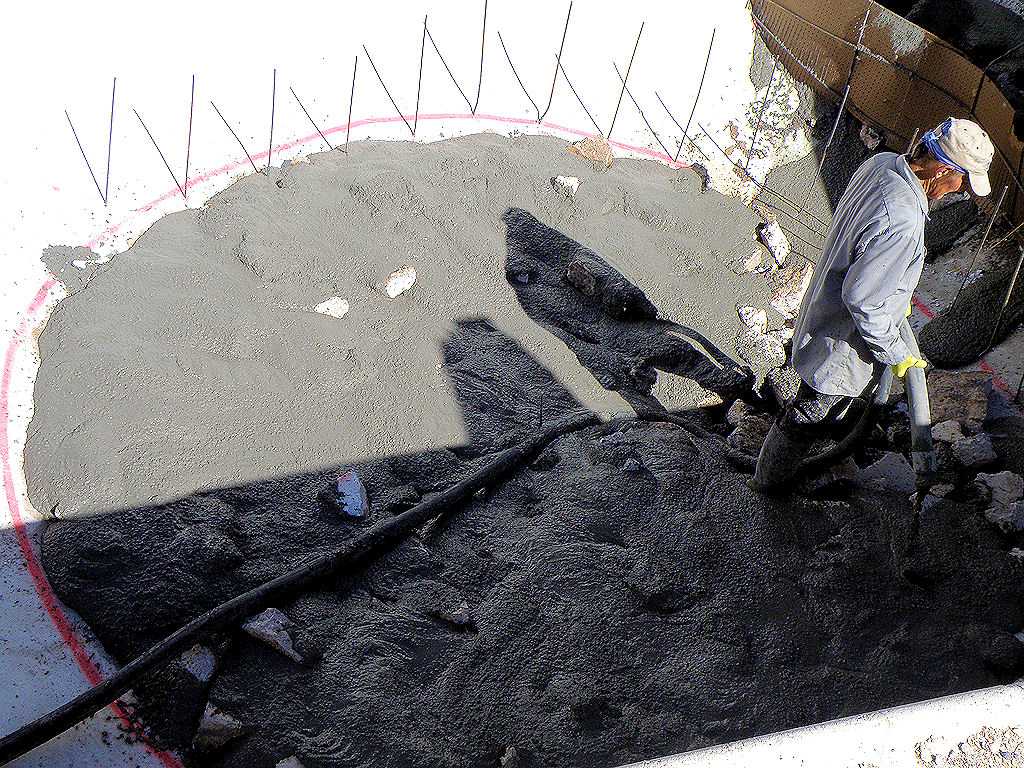
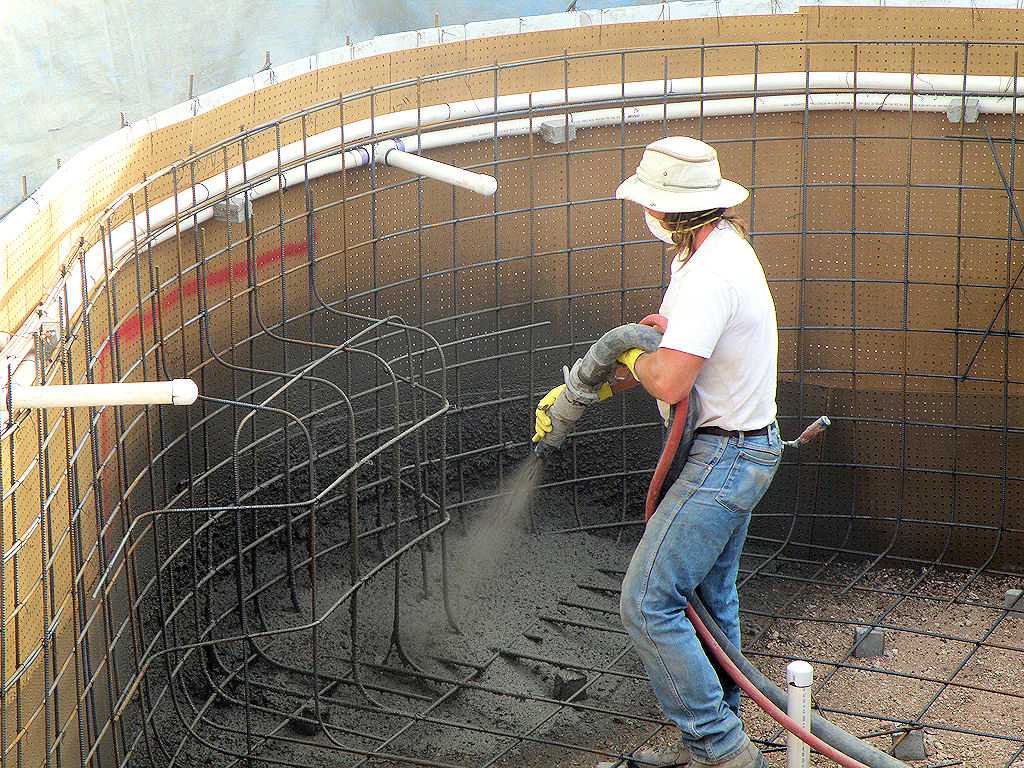 Here comes the gunite! |
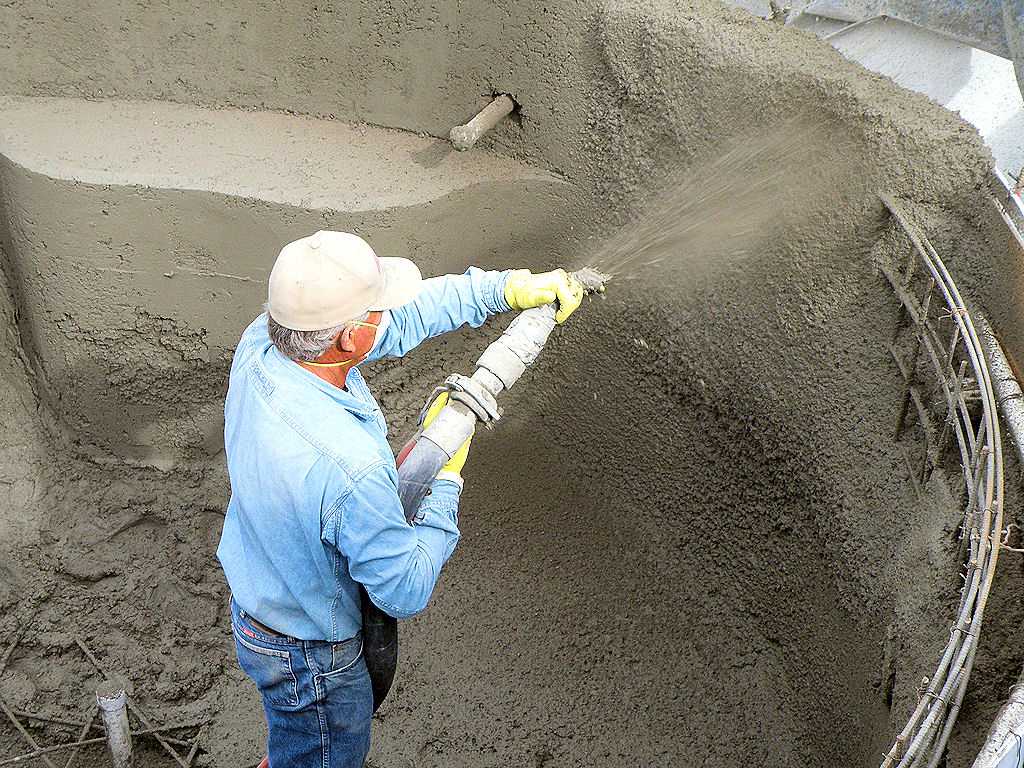 |
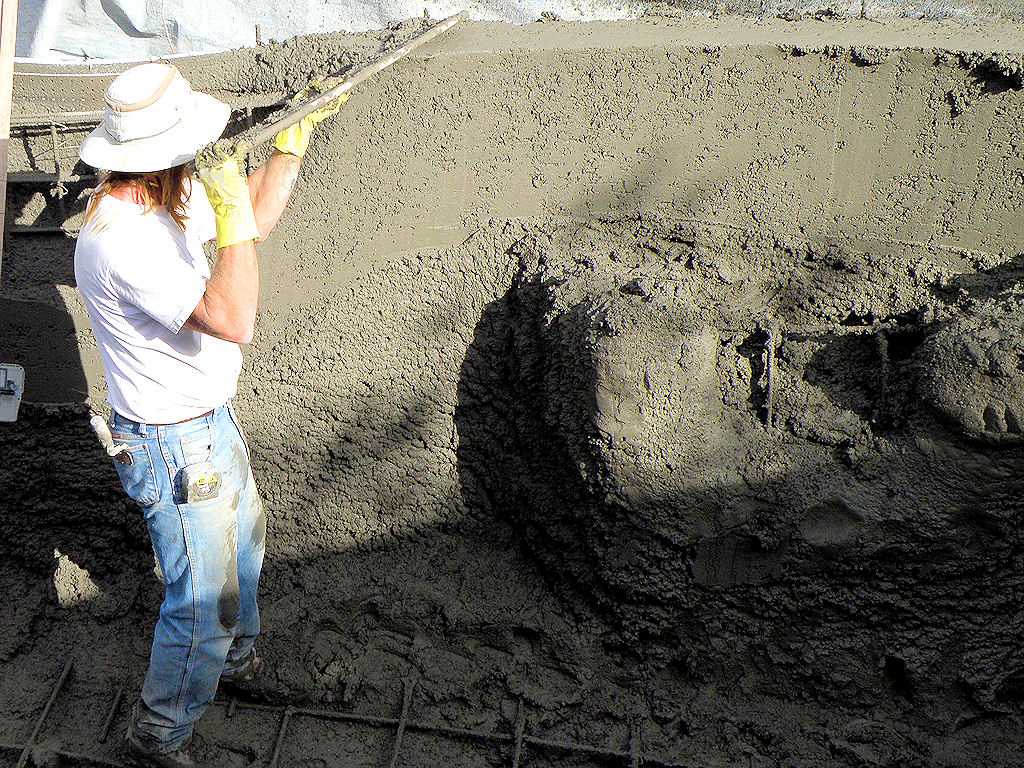 Shaping. |
 Done! |
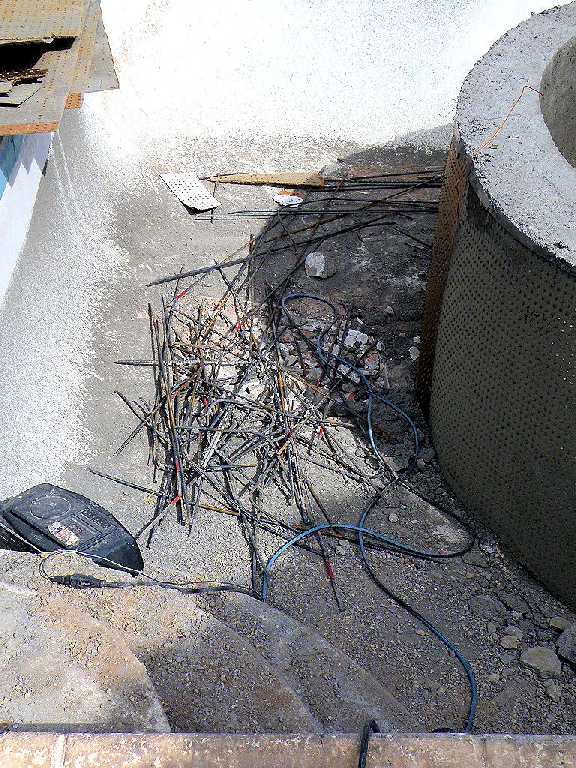 As I said, all non-biodegradable solid waste will be used during construction of the new pool. |
 More fill, this time added over the broken up decking. |
 |
 Removing the coping from the old pool and using it as fill. Following this, more dirt fill was added by Jeff and compacted by Abe. |
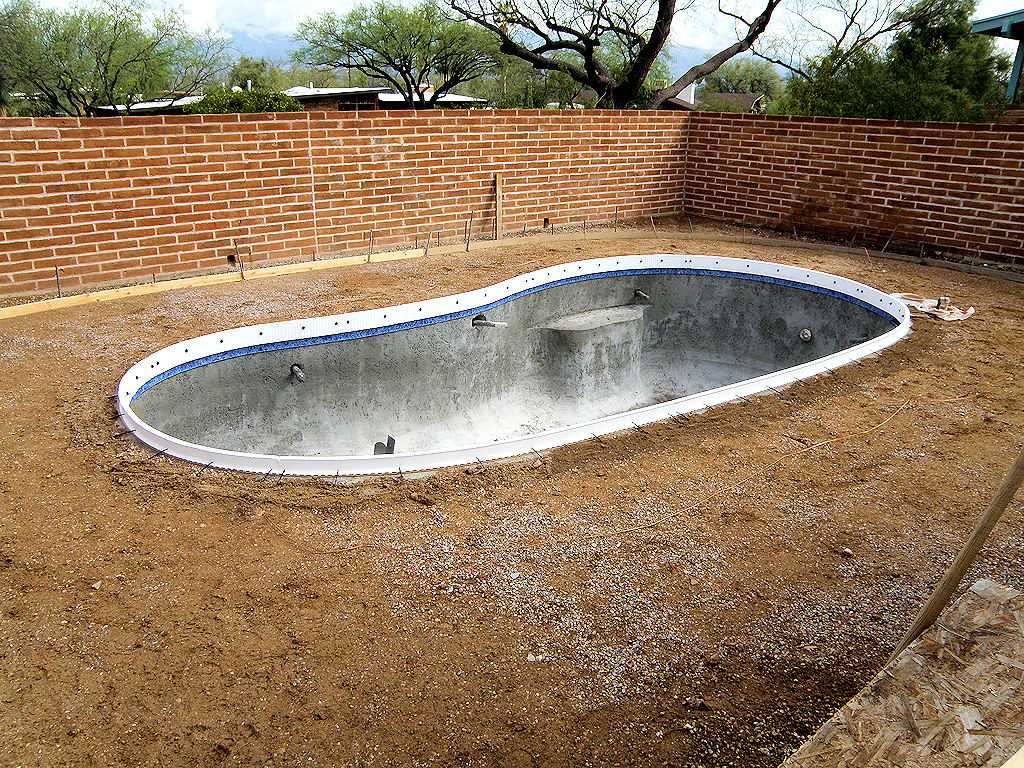
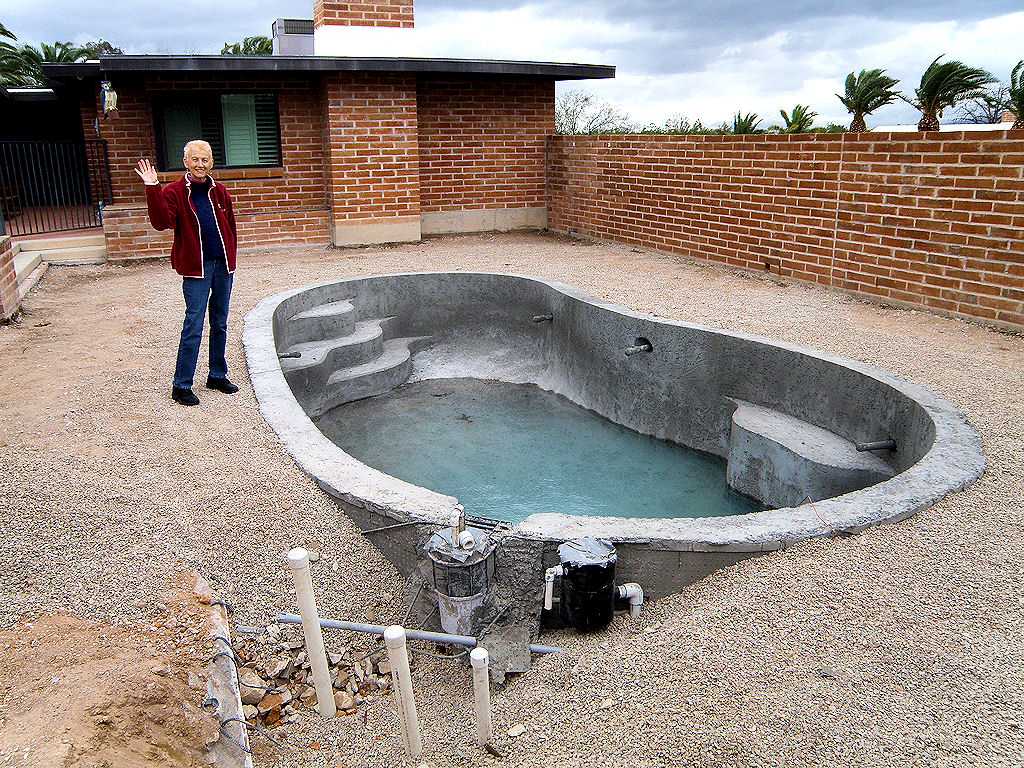 It's starting to look like a swimming pool! |
 Jeff adding tiles around the top edge. |
 Tiling is done. |
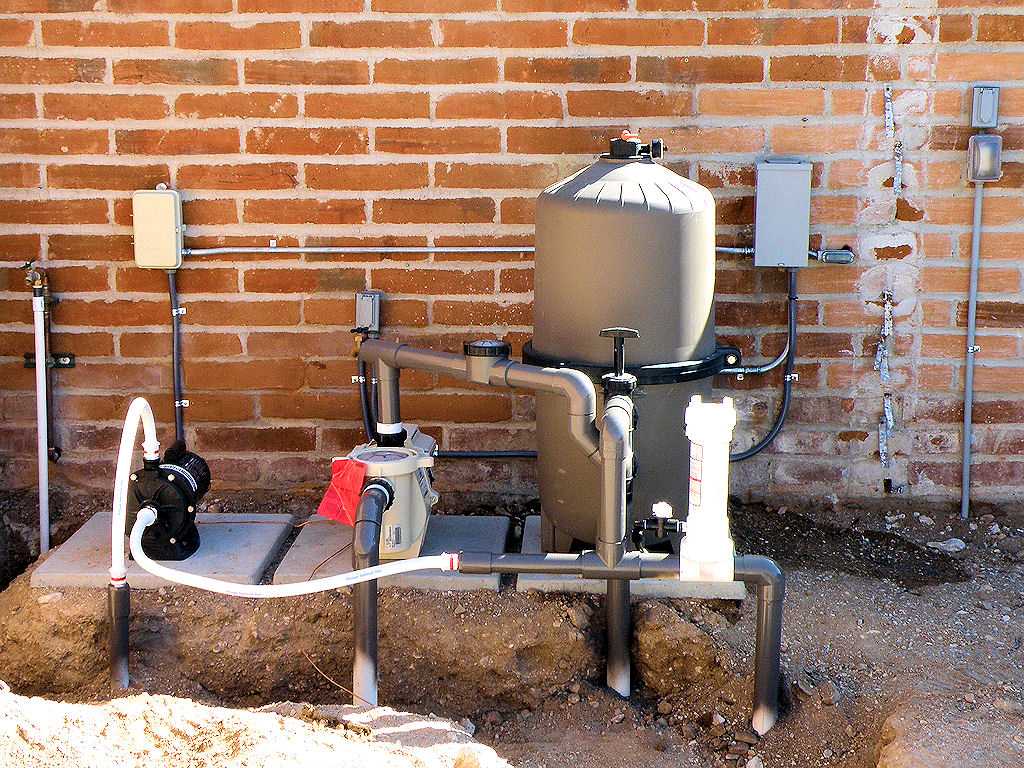
 This is the new pool equipment, roughed in. |
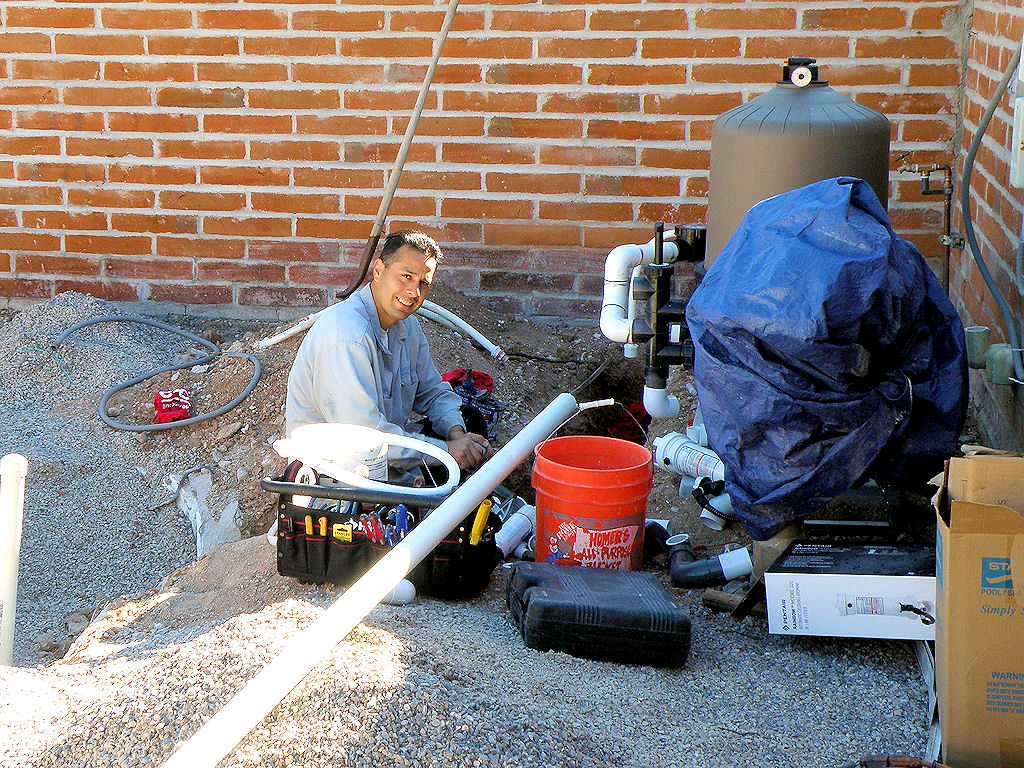 Abe is connecting the new equipment to the pool. |
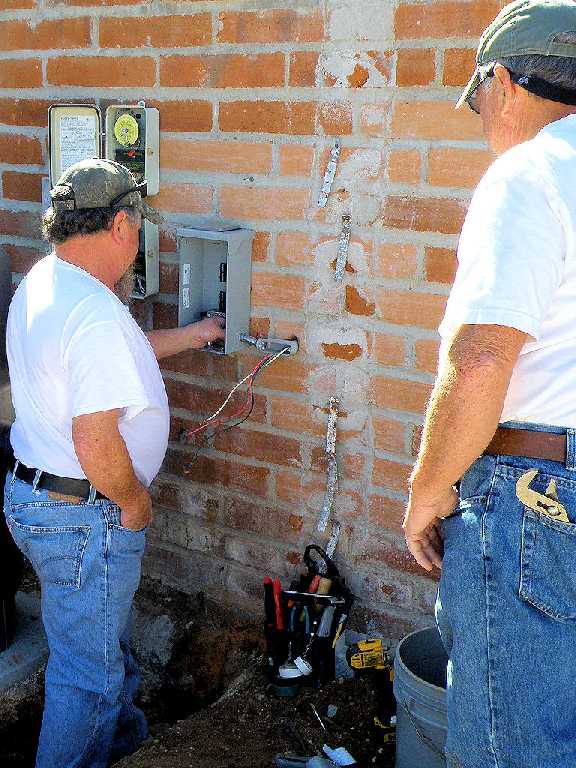 Electrical work in progress. Note that the electrician works with one hand in his pocket - a smart safety practice for electrical workers. |
 All PVC connections are completed and the electrical work is done. Note the vertical discoloration on the right side of the wall - an Adobe wall will be added there. Note also the analog timer to the left (cream colored case). This will later be replaced with a digital timer. |
 Abe is installing drainage lines for the new decking . . . |
 . . . done. |
 Compacting the soil, again, in preparation for pouring the deck. A lack of compaction may be what caused our old decking to sink! |
 Ready for the decking to be poured. |
 Decking is being poured - this is the third time concrete has been poured as part of this effort! |
 |
 |
 Done! |
 This in interesting - both the decking and the coping are being covered with acrylic sheets. This material is very hard, long-lasting and won't get too hot as does concrete. |
 Done. |
 Coloring and sealing the acrylic flagstone, both at the steps and on the coping around the edge of the pool. |
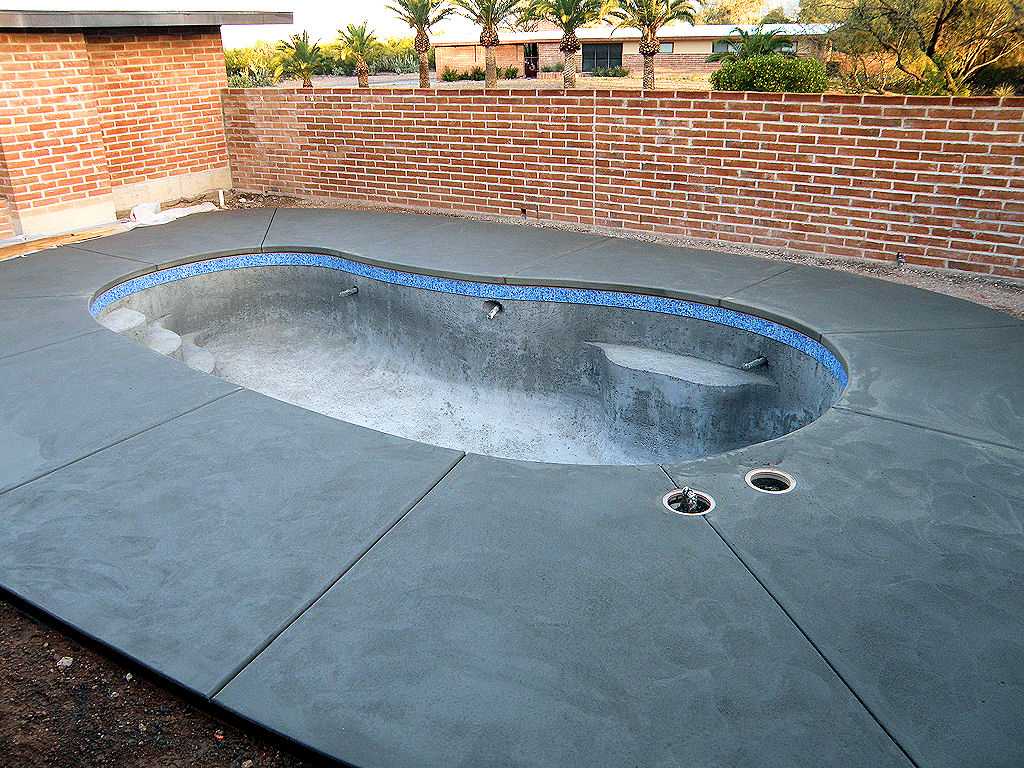
 Coating the deck with Kool Deck®. Note that Jeff was adament that this was a concrete topping rather than just a paint! It dries much harder than paint, as well as being much cooler on sunny days. |
 The deck is done. |
 Getting ready for the fourth concrete pour - this time it's Pebble Tec® finishing material, which is actually blown in rather than poured. |
 Preparing for the Pebble Tec®. |
 Here it goes. |
 |
 Smoothing the Pebble Tec®. |
 Not quite done. |
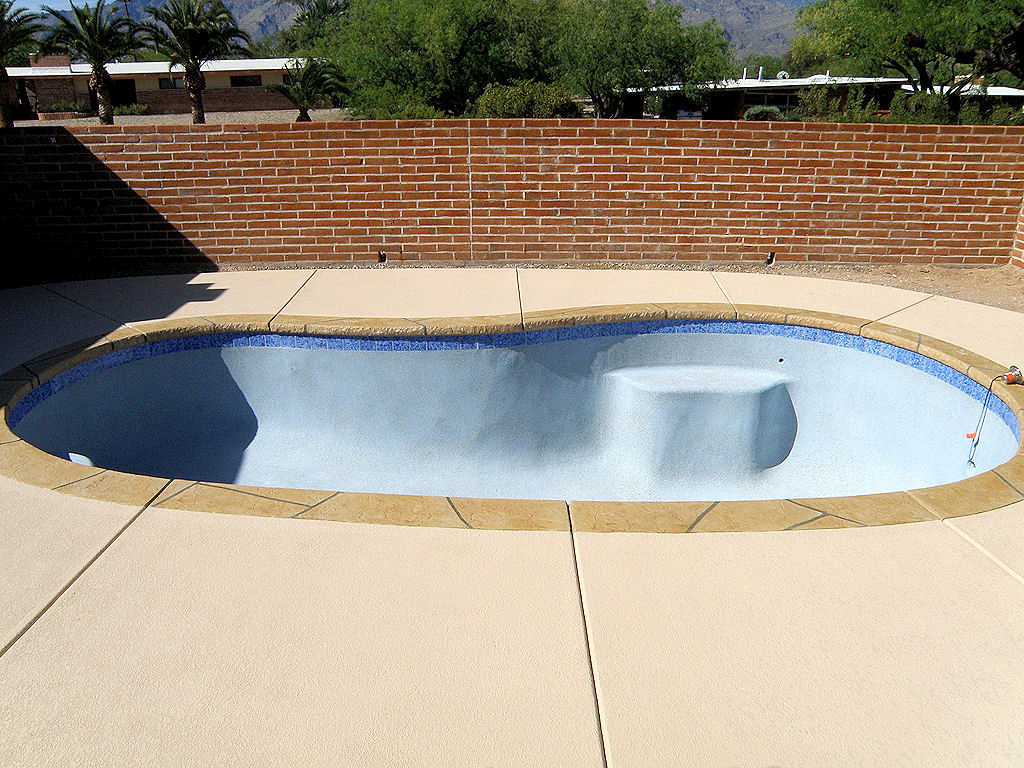
 A light acid wash was just completed, washing off the top layer of concrete to better show the tiny little multi-colored pebbles. The surface is now done. |
 Adding water - at the top of the picture is Abe installing a railing. |
 The pool is filled and the equipment is all functioning perfectly. |
 Working on the adobe privacy wall which will (somewhat) hide the equipment. |
 Done. |
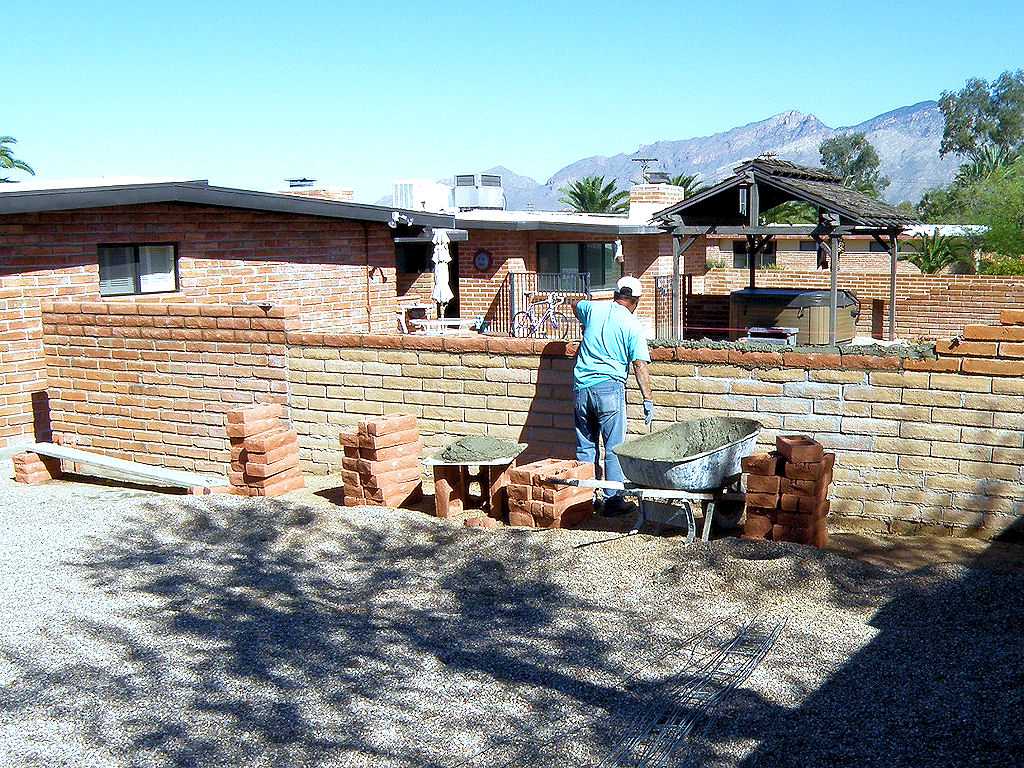
 Walls need to be raised in order to adhere to 2015 zoning laws regarding child protection. |
 |
 |
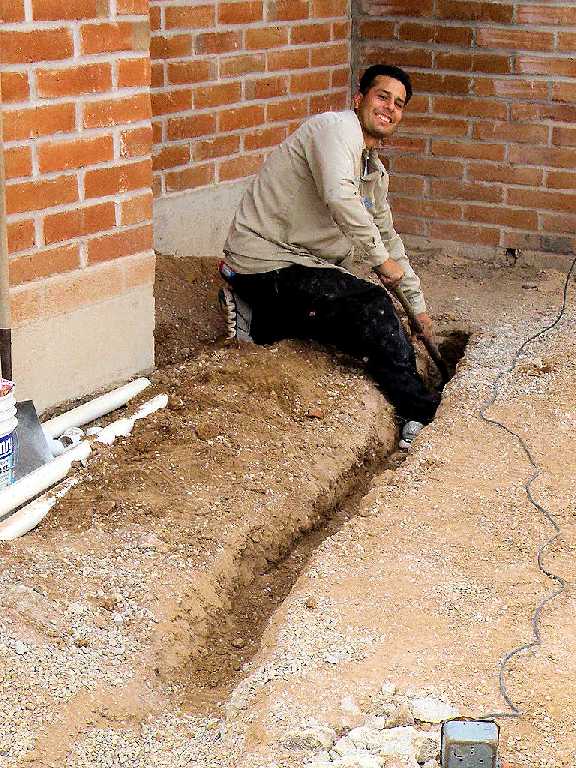
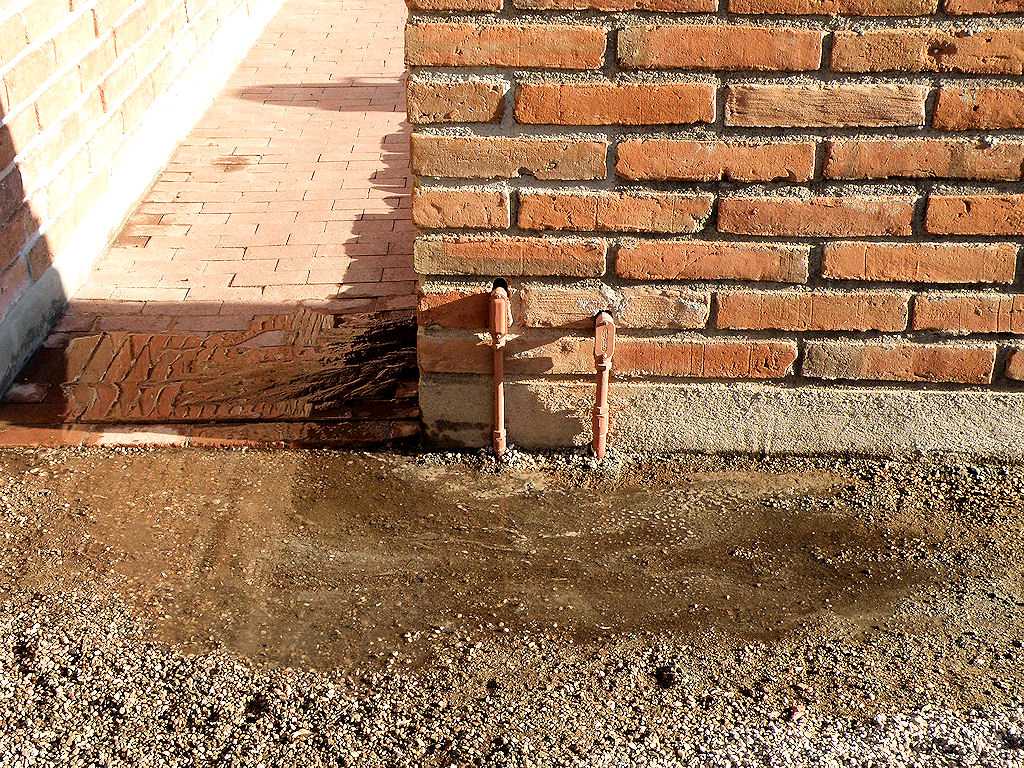 While raising the wall shown at the left, the weight of the additional bricks broke an old water line. Brookshire fixed this at no additional cost! |
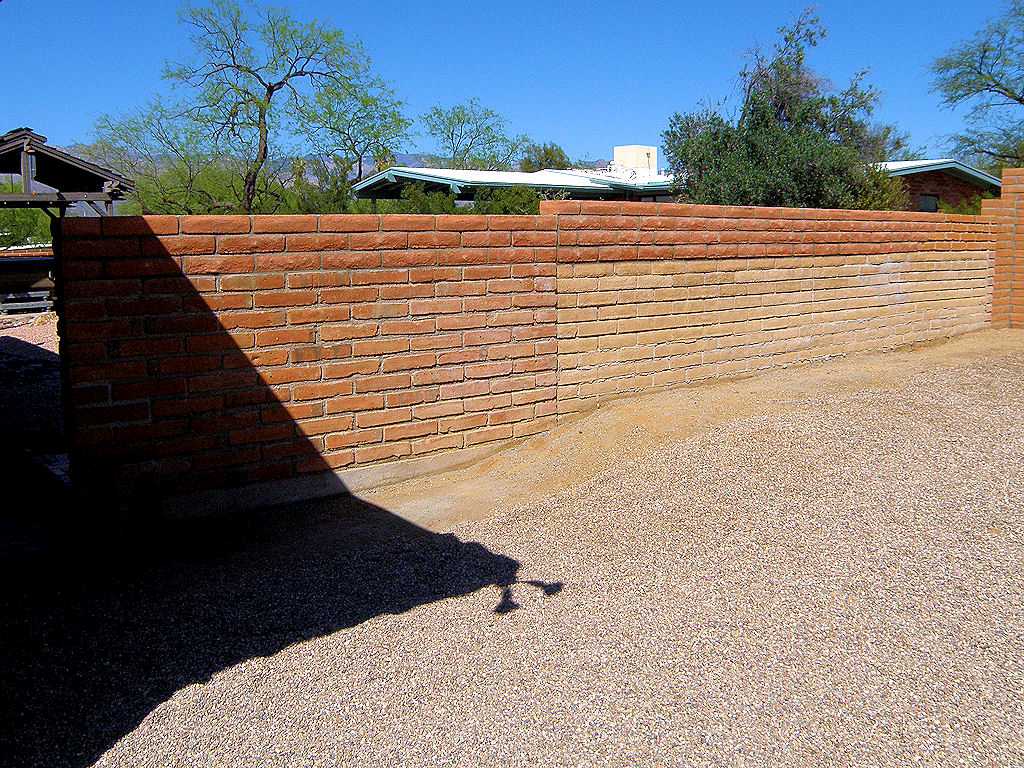
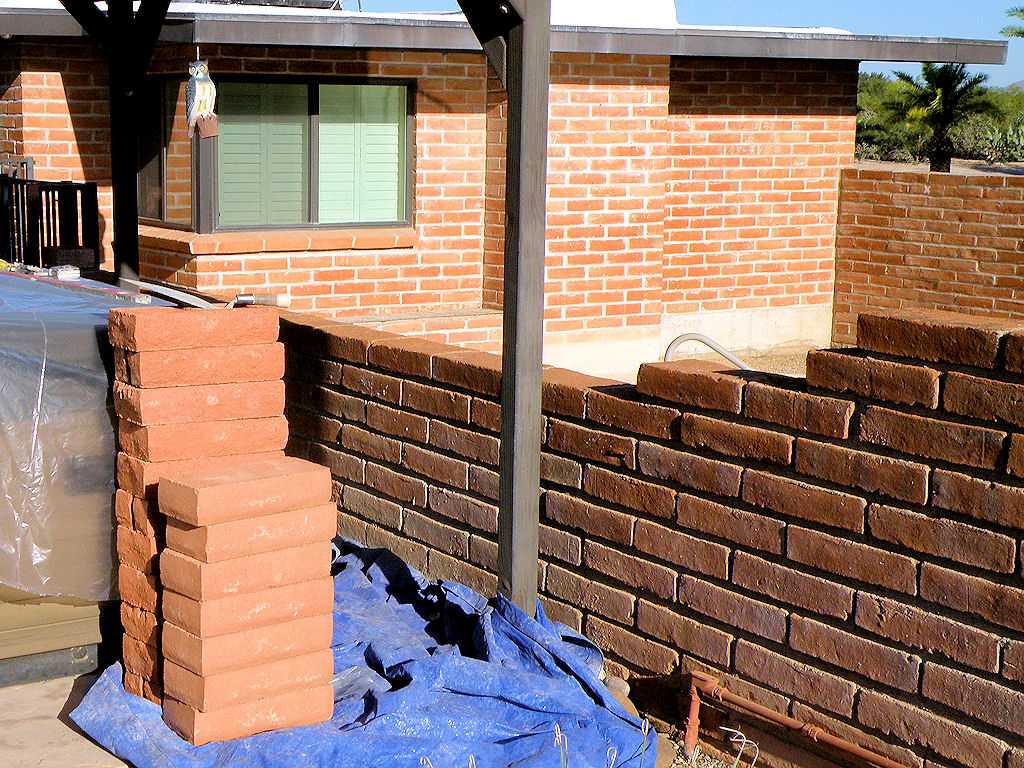 Another wall being raised. |
 |
 |
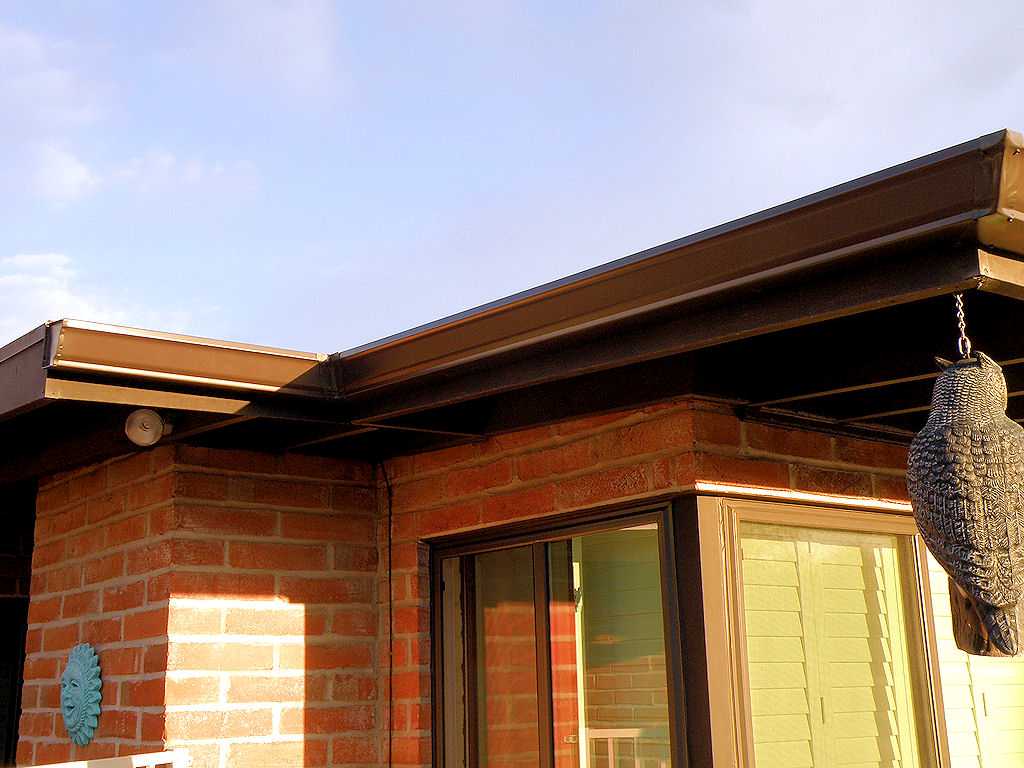 The ceiling of our guest house slopes towards the pool. The first time we had a small rain shower, the dust on the roof ran onto the new decking as mud! Rather than have this happen again, we added 30' of guttering! |
 |
 The downspout shown in the previous picture did not look good IMHO, so we improved the looks as shown above. |
 The next seven pictures show Mexican artwork we placed around the pool. |
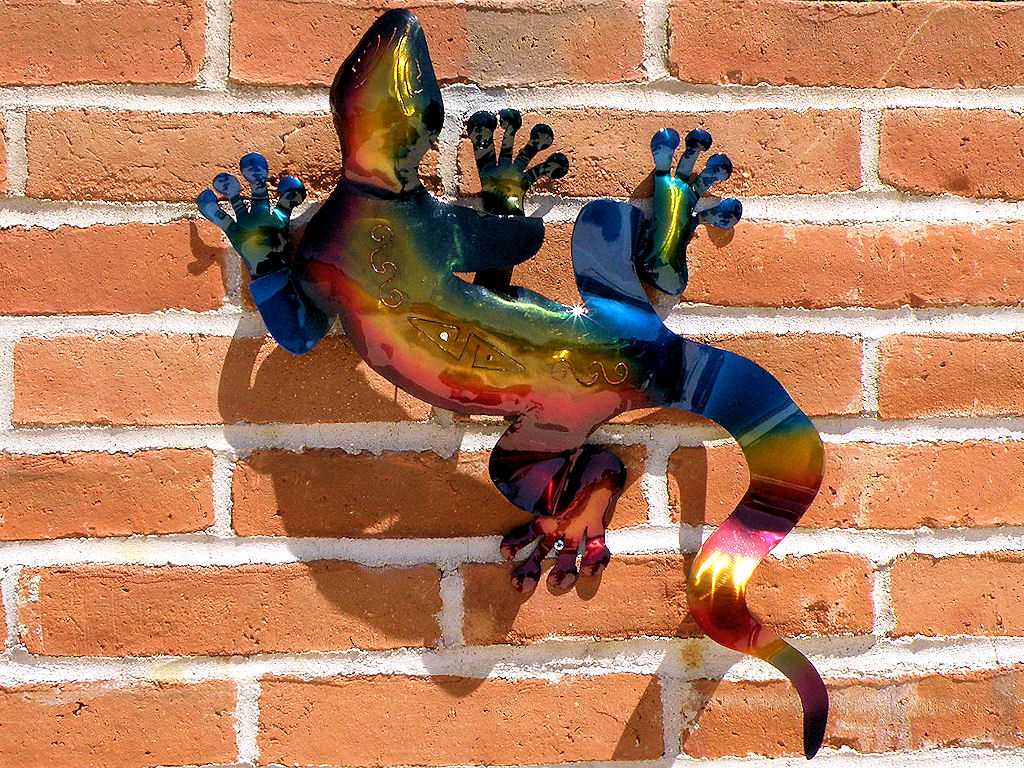 |
 |
 |
 Fred and Fran Frog. :) |
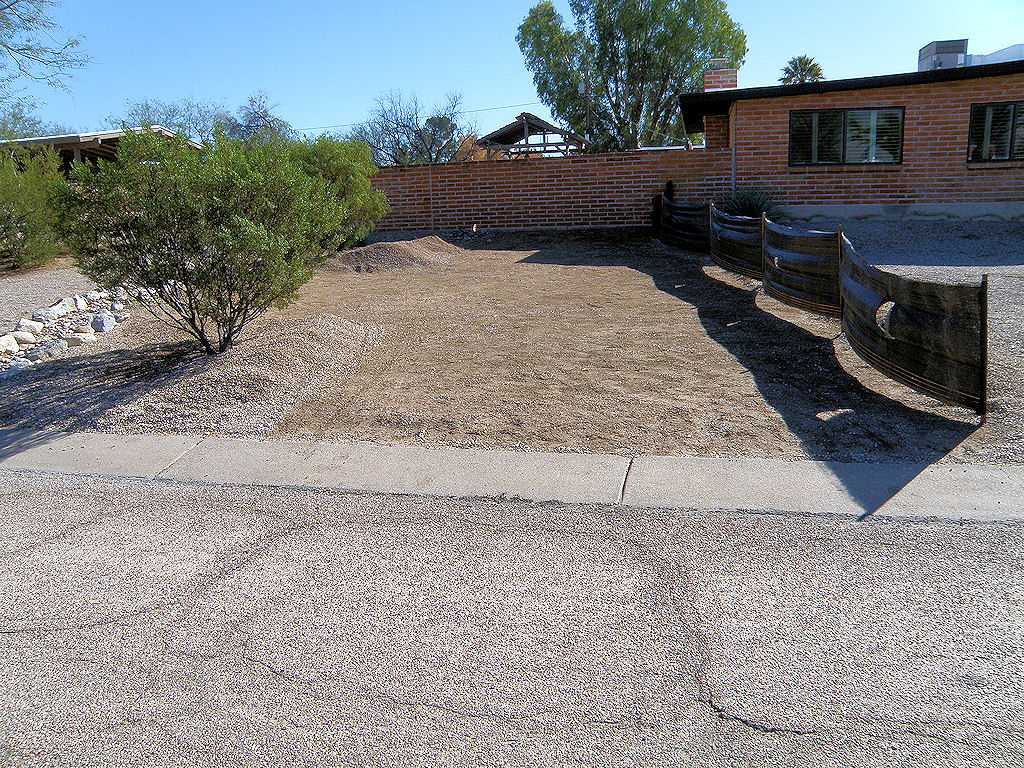
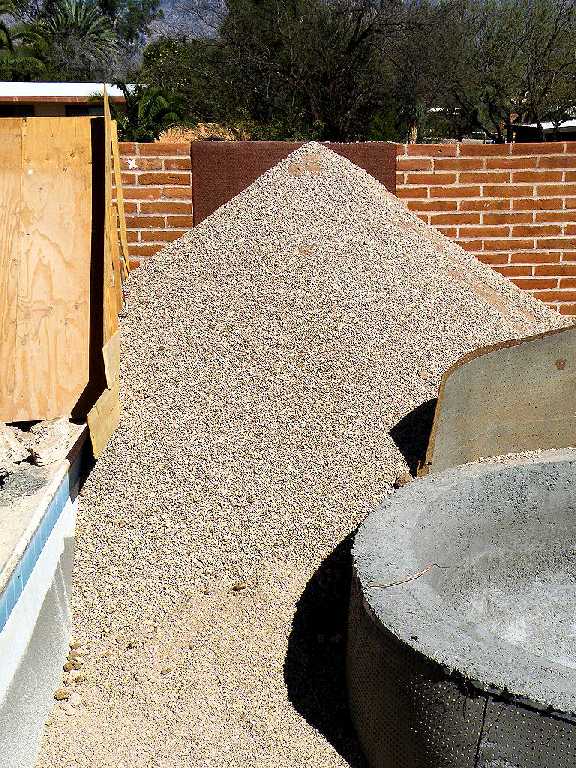
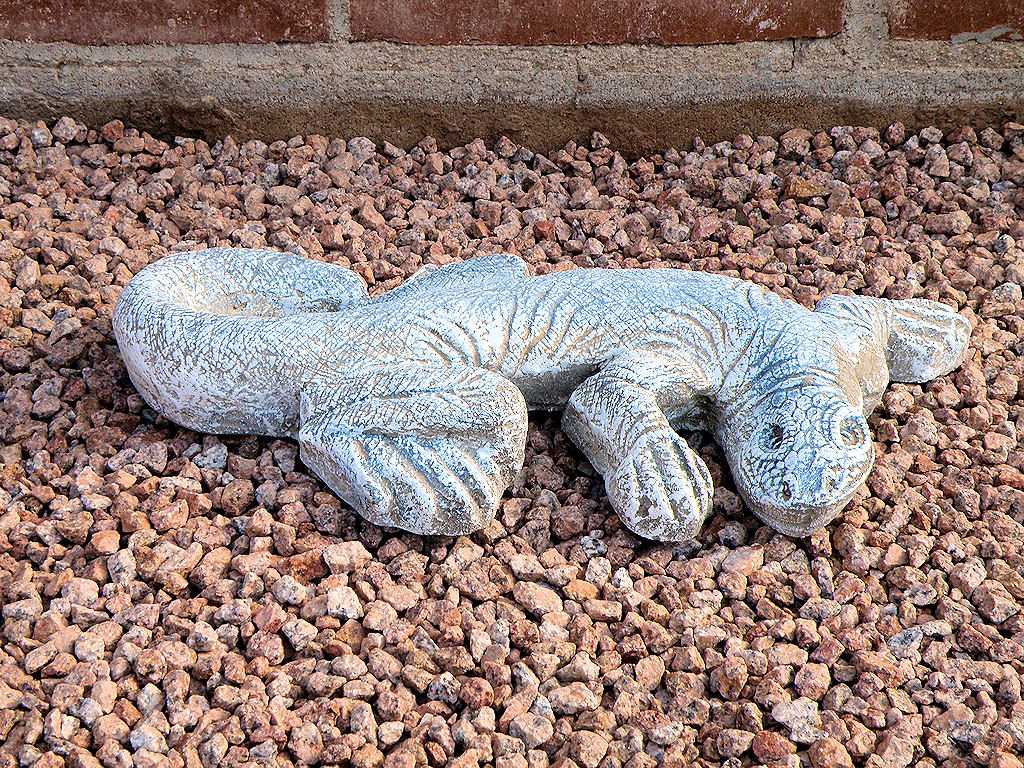 The decorator gravel in this picture has been added to all bare dirt areas around the pool. This required 4 cubic yards of this gravel. |
 |
 For comparison, this is the old equipment. |
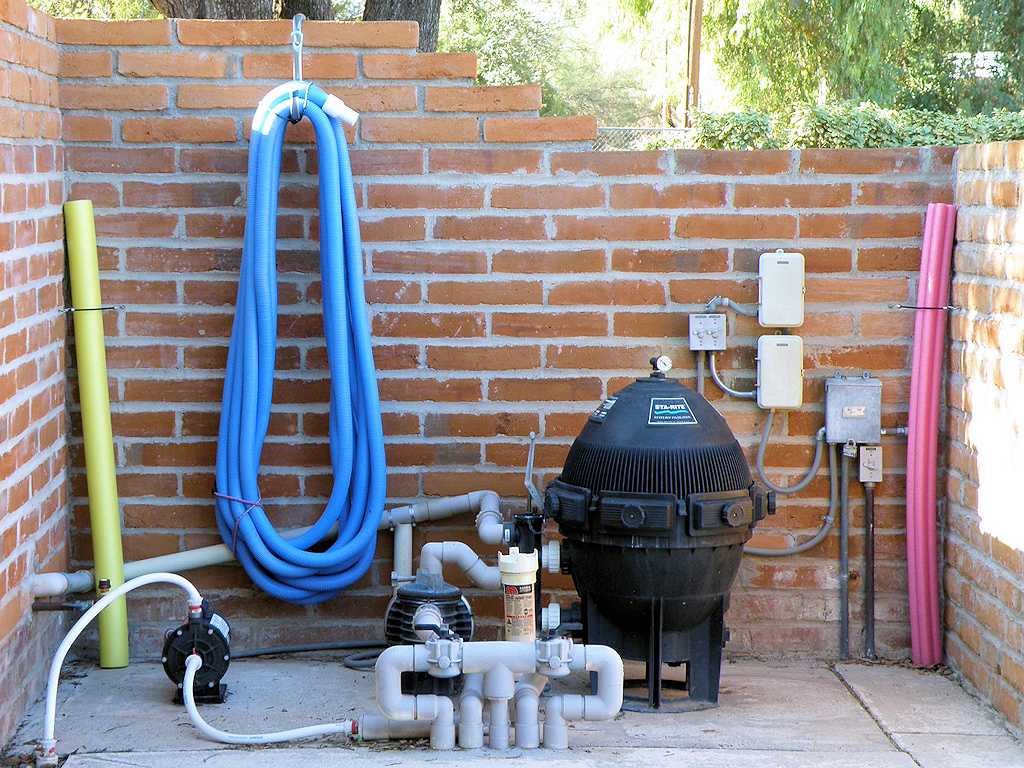
 This is the new equipment, complete with a new digital timer (to the left in a grey case). |
 This is the old 24,000 gallon pool. |
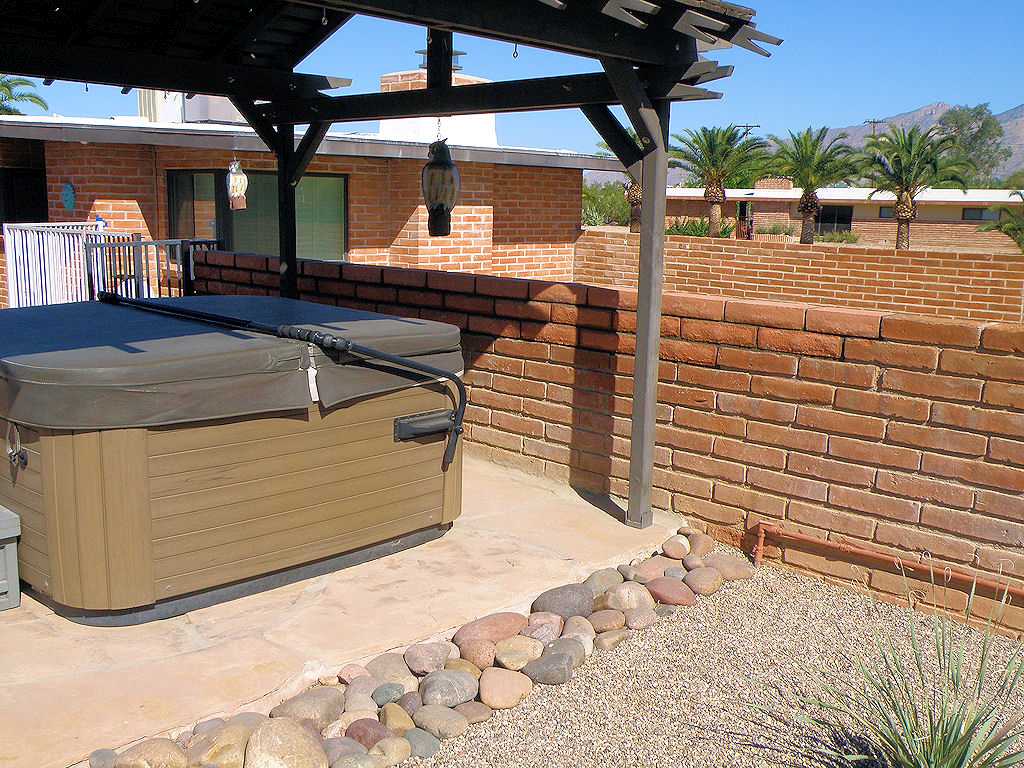
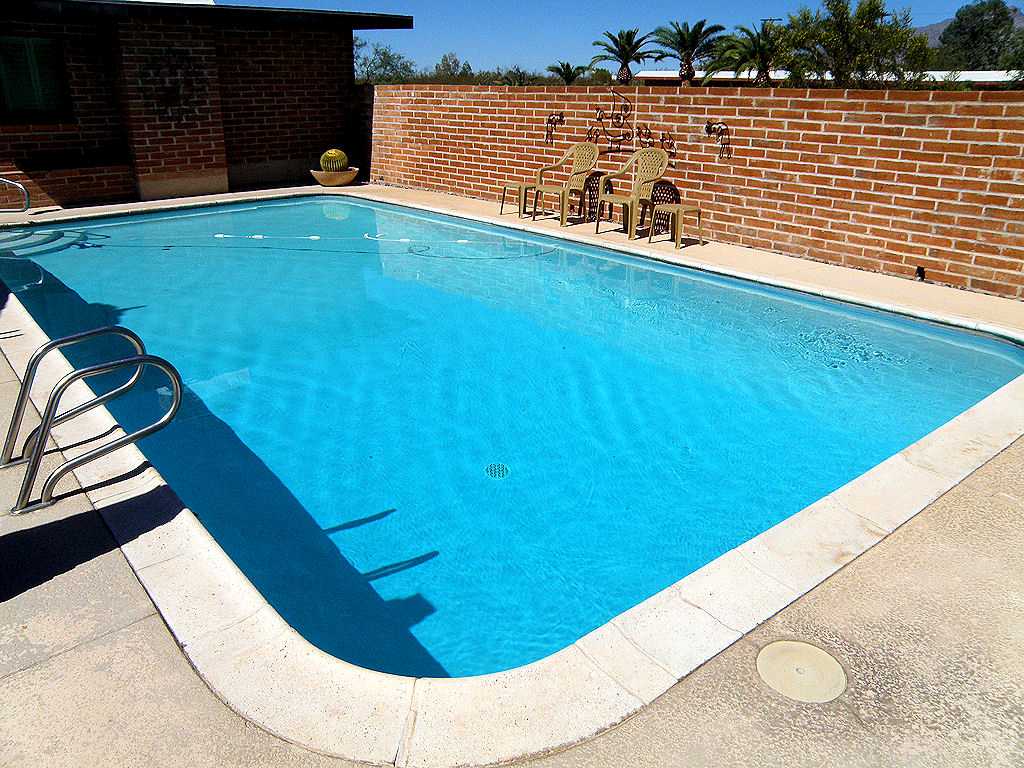
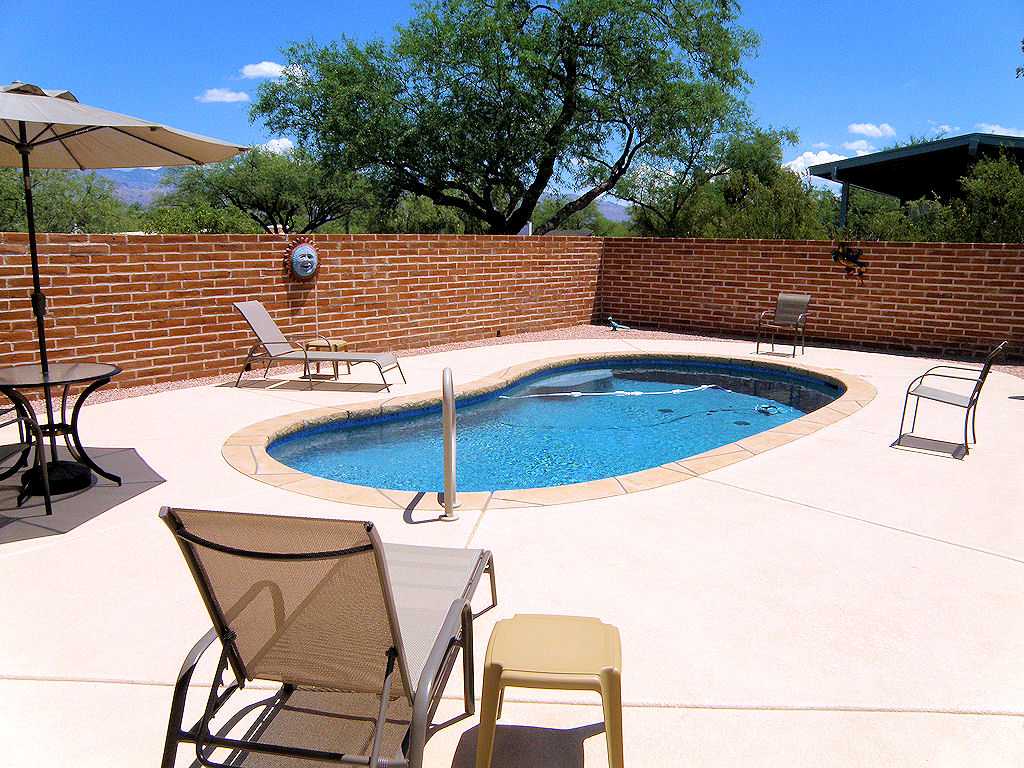
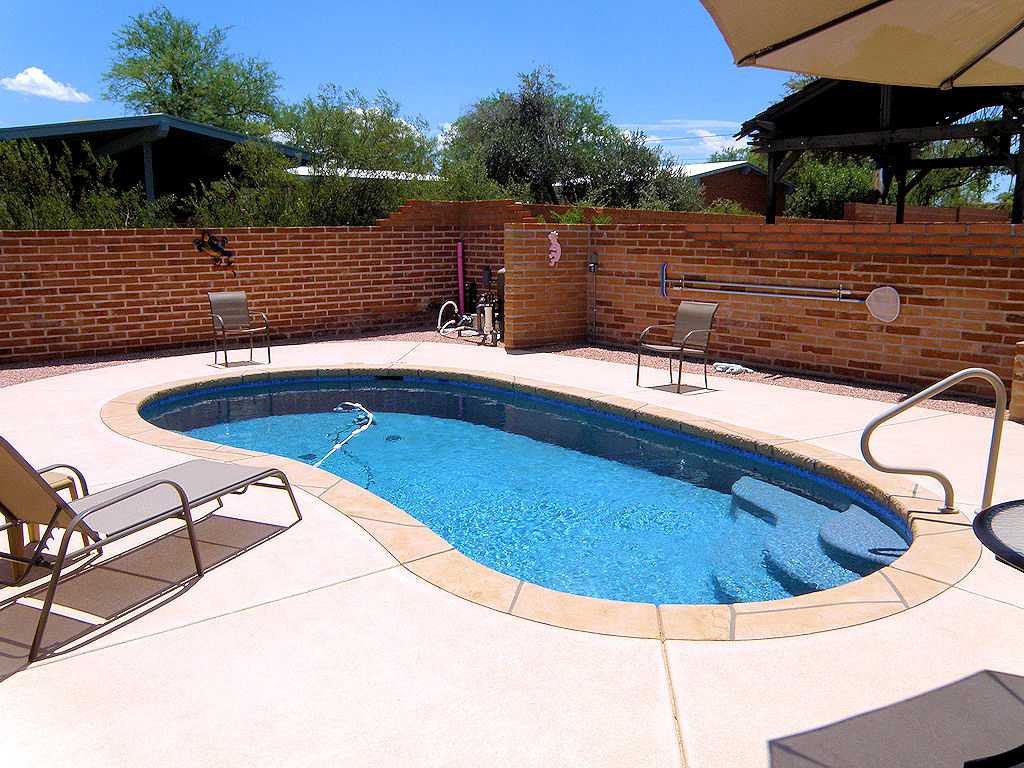
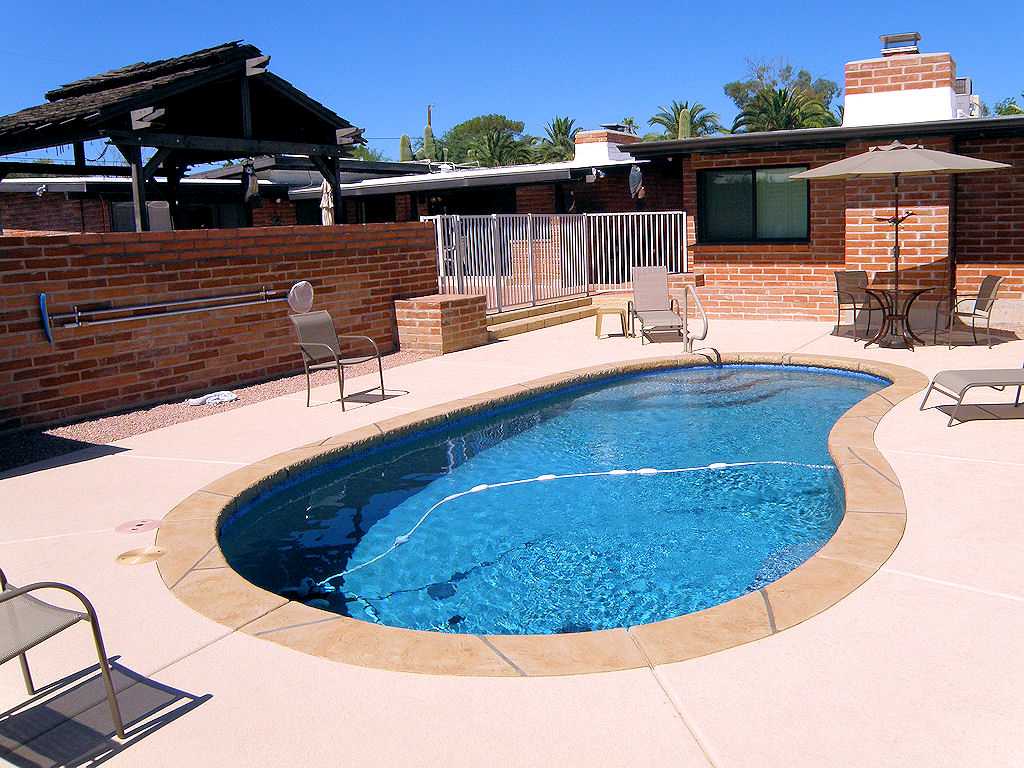 The next four pictures give you a 360 degree view of the new 7,100 gallon pool and the surrounding area. All of the patio furniture came from Lowe's. |
 |
 |
 |